A Step-by-Step Guide to Home Coffee Roasting
For coffee aficionados, there's nothing quite like the aroma of freshly roasted beans. While many enjoy their morning brew without a second thought, diving into the world of home coffee roasting can be both a rewarding and enlightening experience. With just a few tools and a bit of patience, you can create your own perfect roast right in your kitchen.
Why Roast Your Own Coffee?
Roasting your own coffee offers a unique opportunity to tailor the flavor profile to your exact preferences. By controlling the roast level, you can highlight different notes and characteristics of the beans. Additionally, roasting at home ensures that you're enjoying the freshest possible coffee.
Essential Tools for Home Roasting
Choosing Your Equipment
The first step is selecting the right equipment. Beginners often start with a simple popcorn popper or a stovetop roaster. These options are budget-friendly and easy to use. As you gain experience, you might consider investing in a dedicated coffee roaster for more precise control over the roasting process.
- Popcorn Popper
- Stovetop Roaster
- Dedicated Coffee Roaster
Selecting Green Coffee Beans
Once you've chosen your equipment, it's time to select your green coffee beans. These unroasted beans are available from various online retailers and local coffee shops. Experiment with different origins to discover which flavors and profiles you prefer. Remember, each type of bean will react differently to the roasting process.
The Roasting Process
Preparing to Roast
Before you begin, ensure that your workspace is well-ventilated, as roasting can produce smoke. Set up your equipment and measure out the desired amount of green coffee beans. A standard starting point is around half a cup, which will yield about one cup of roasted coffee.
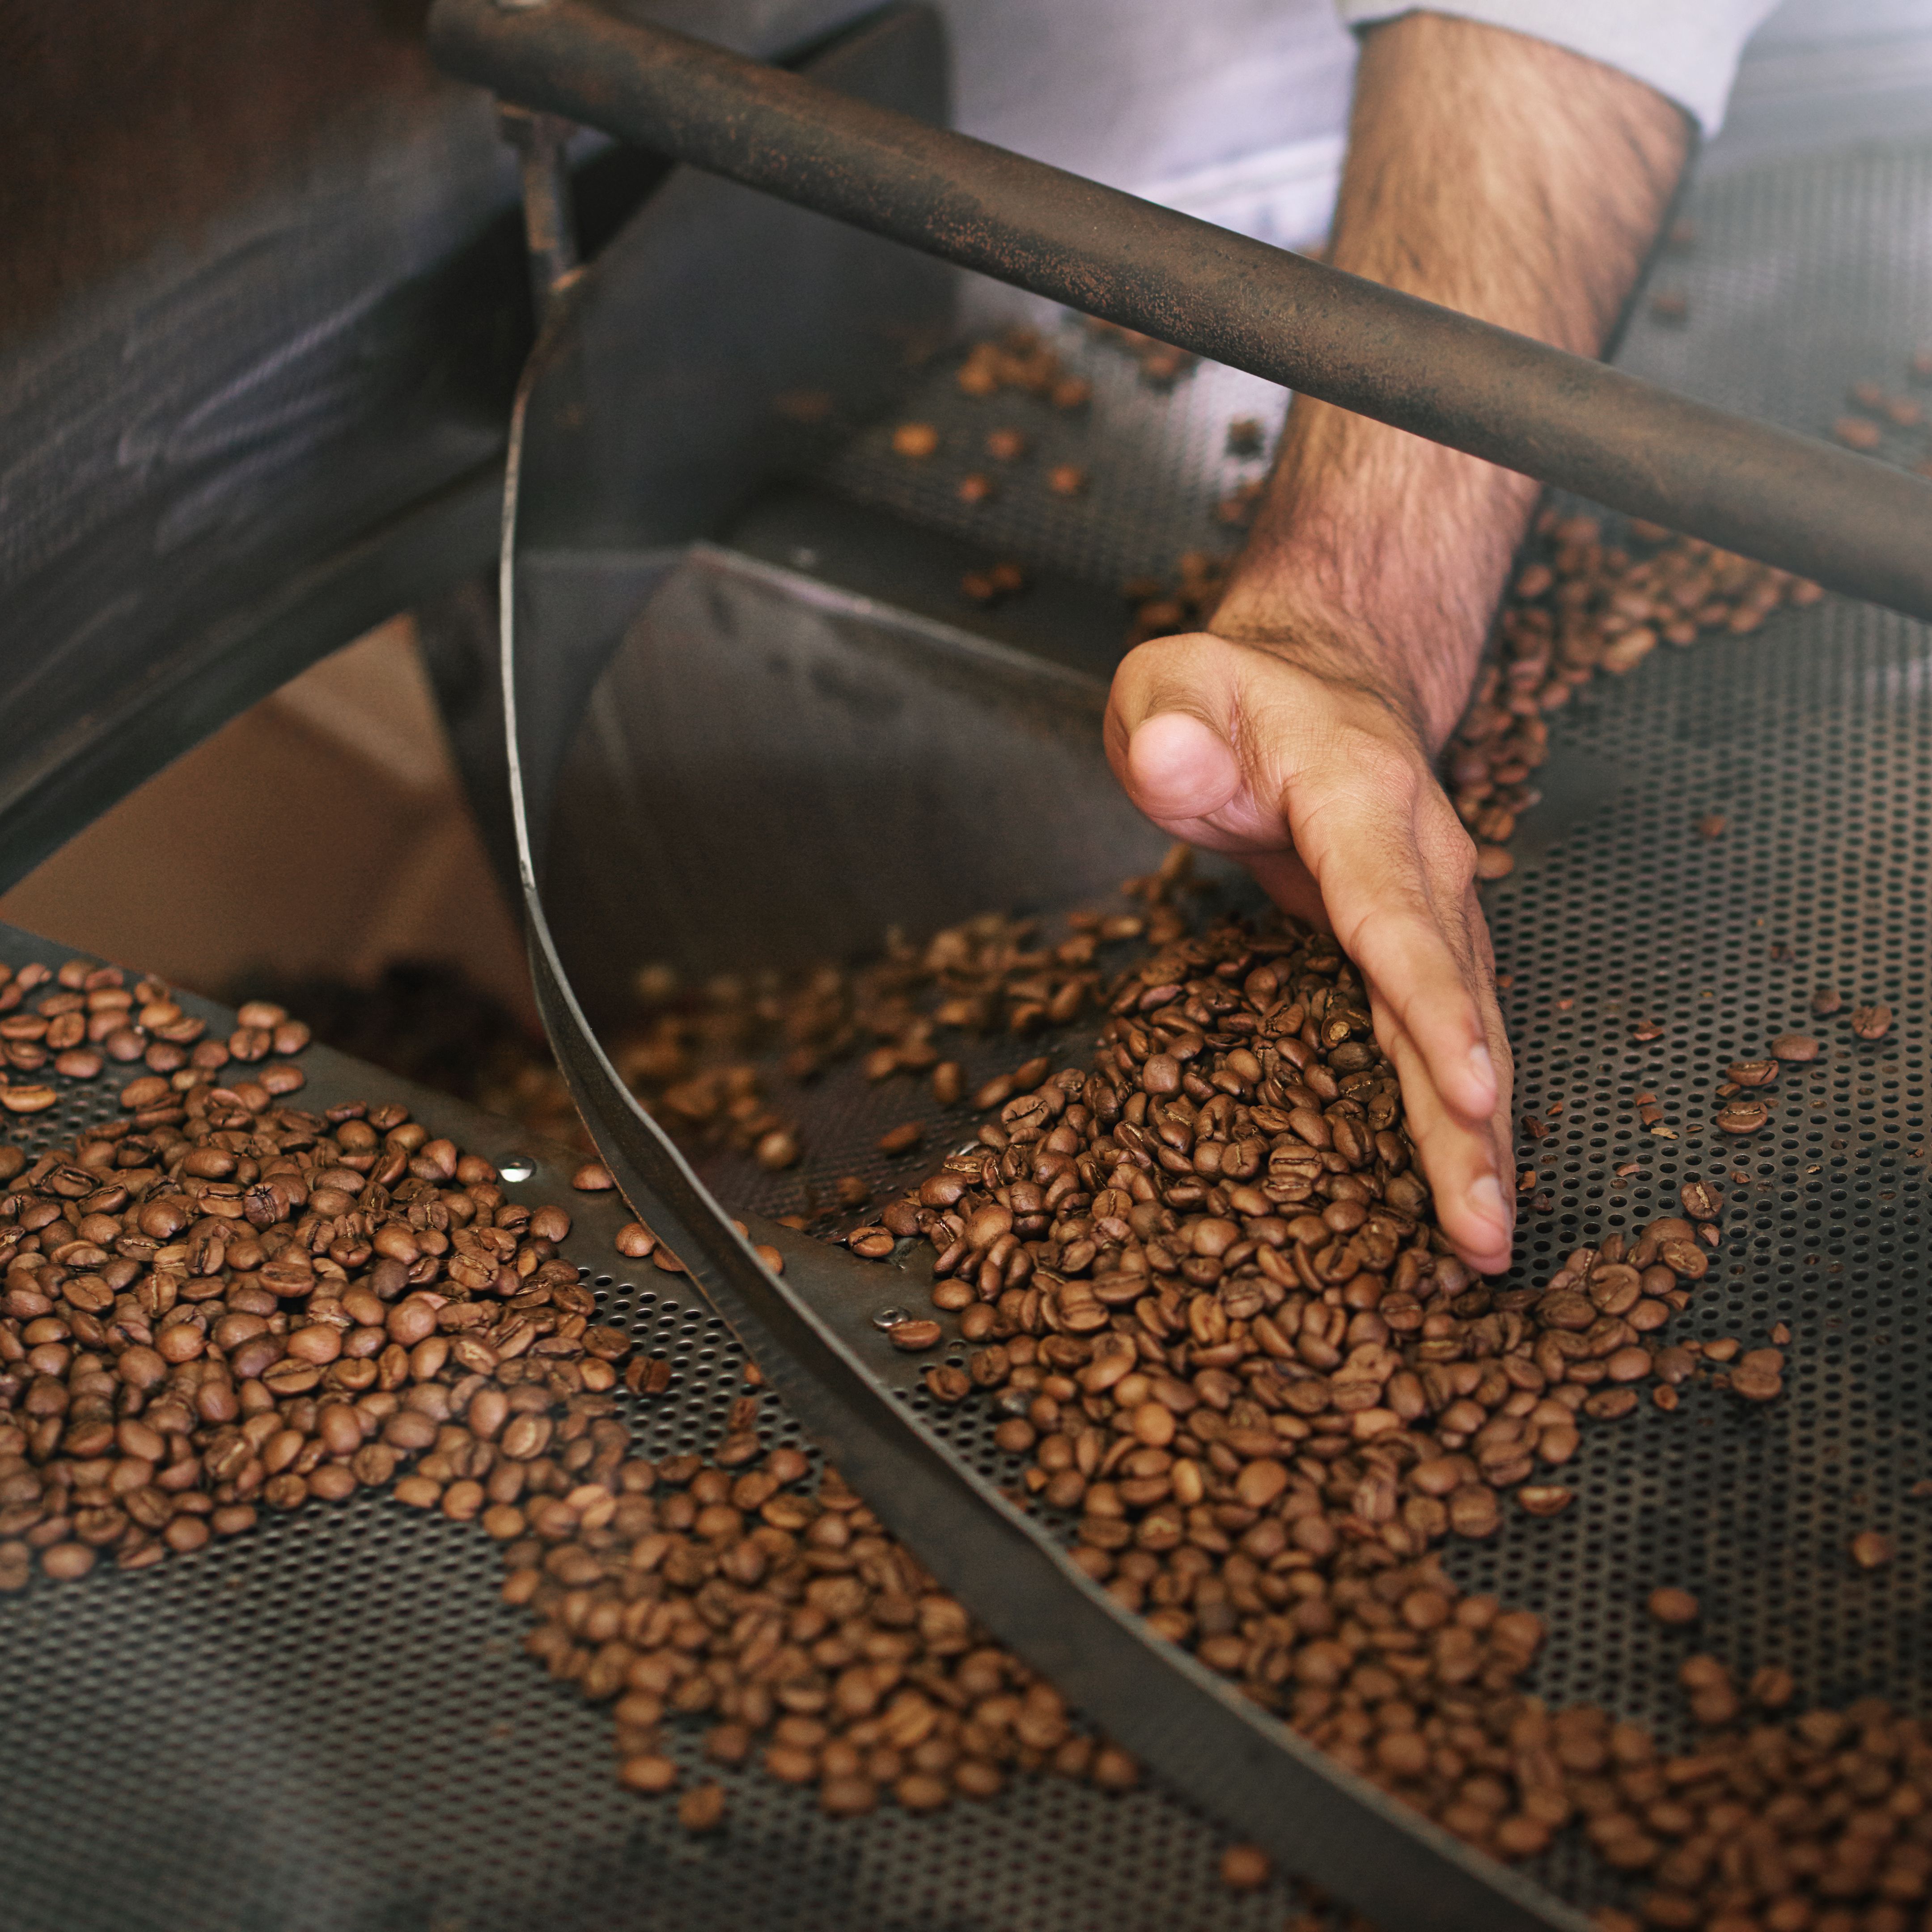
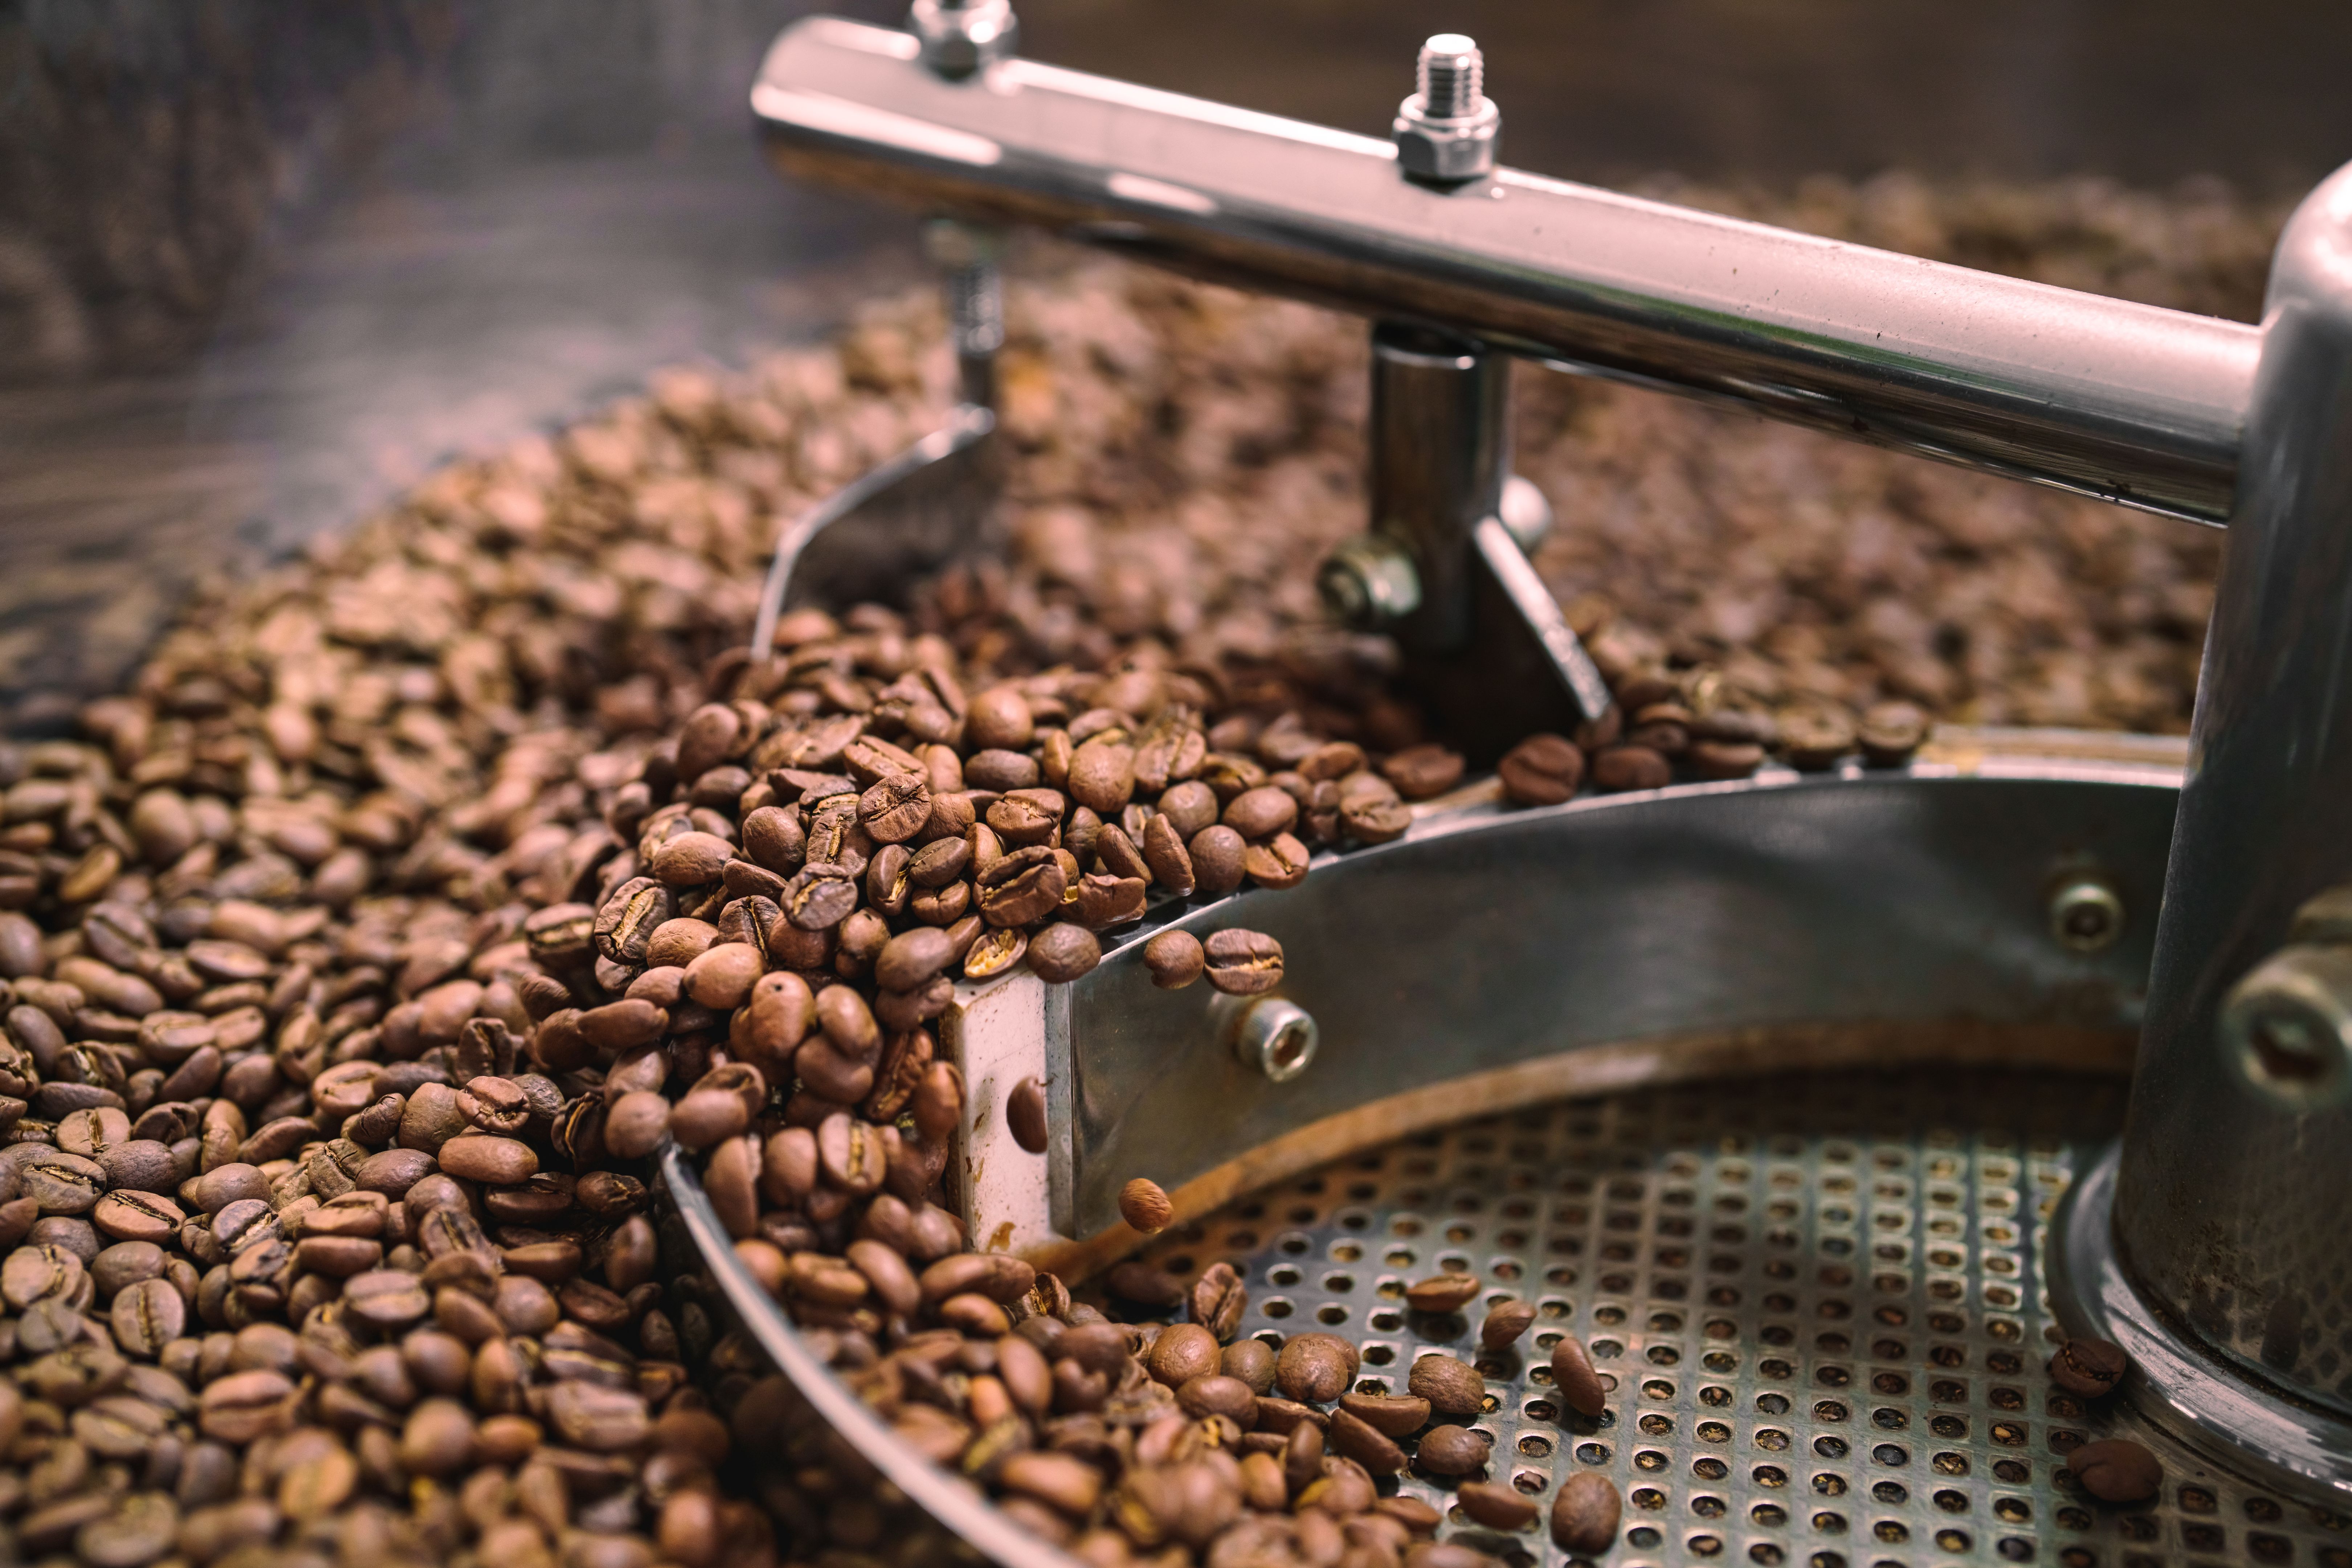
Roasting Your Beans
Start by preheating your chosen roasting device. Once heated, add the green coffee beans and begin stirring or agitating them to ensure an even roast. The beans will undergo several stages: first crack, second crack, and eventually, they will reach your desired roast level. Pay close attention during this process, as it can happen quickly.
- First Crack: Beans begin to expand and produce a cracking sound.
- Second Crack: A louder crack indicates a darker roast.
- Desired Roast: Remove beans when they reach your preferred color and aroma.
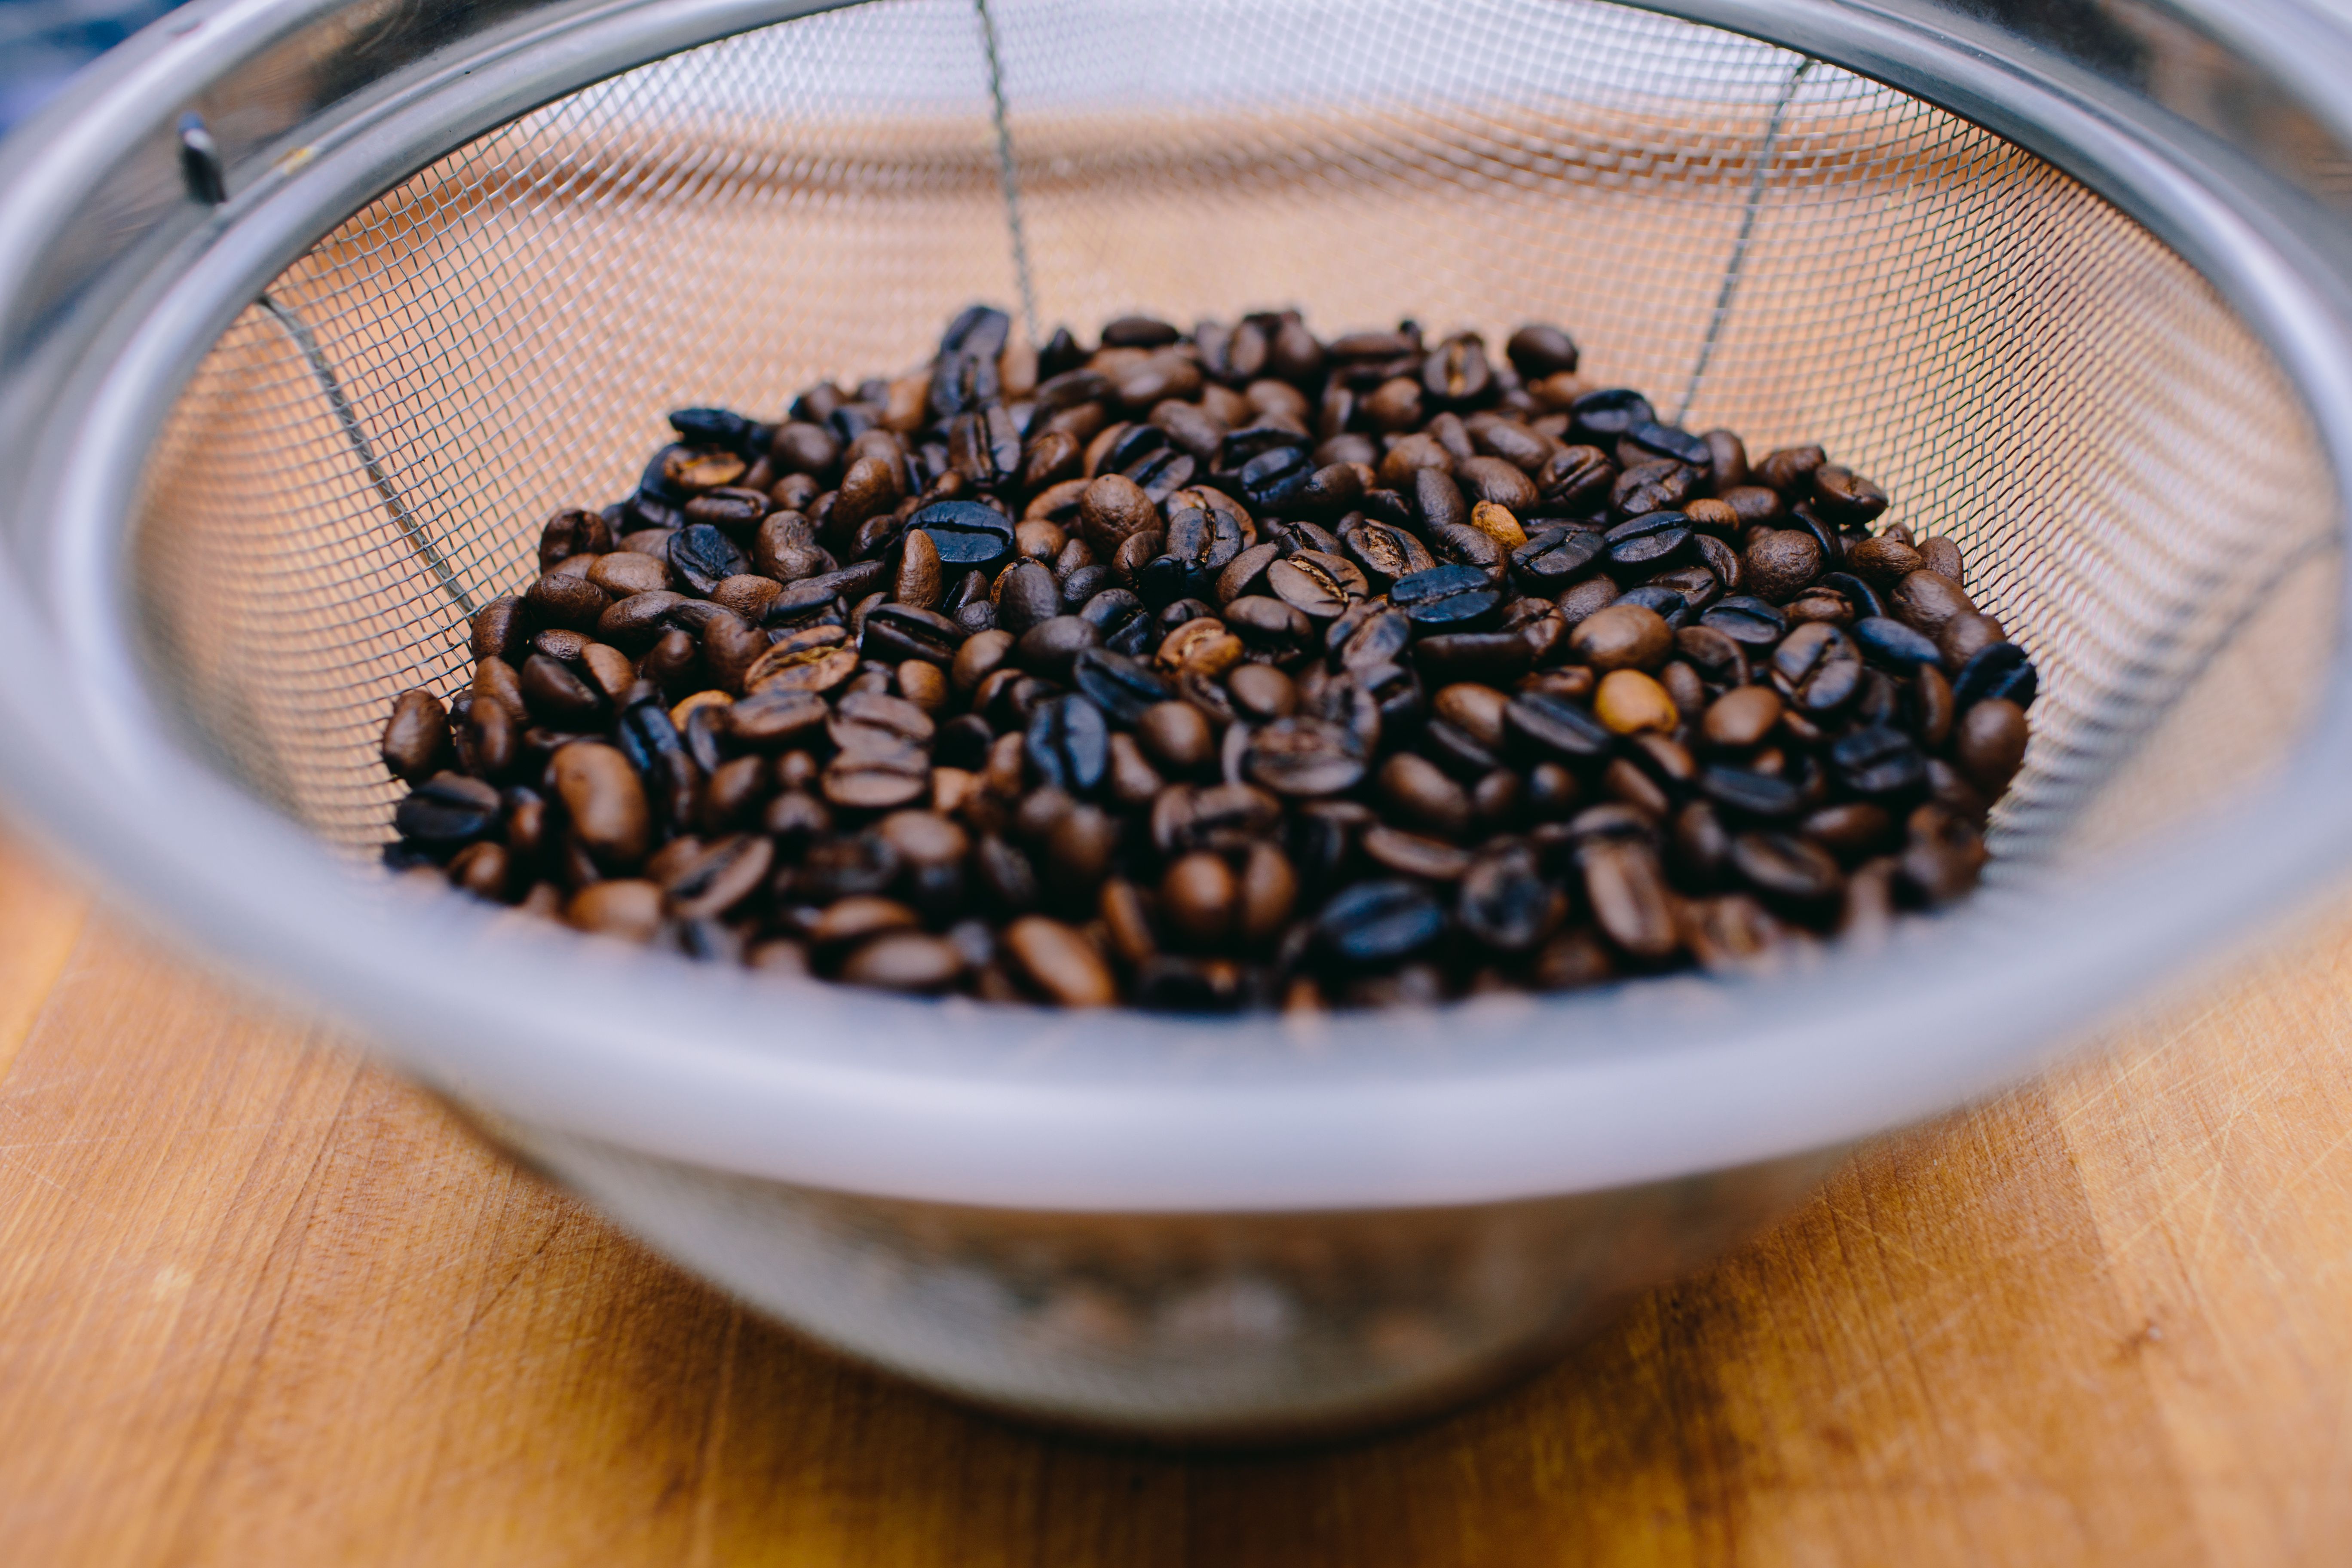
Cooling and Storing Your Coffee
Once your beans have reached the desired roast level, it's crucial to cool them rapidly to halt further roasting. Spread the beans on a baking sheet or use a colander to allow air circulation. Stir occasionally until they are cool to the touch.
After cooling, store the roasted beans in an airtight container. Allow them to rest for at least 24 hours for the carbon dioxide to escape and the flavors to settle. For optimal freshness, use the roasted beans within two weeks.
Experimenting with Flavors
The beauty of home coffee roasting lies in experimentation. Try different roast levels to see how they affect flavor and aroma. Mix beans from different origins to create unique blends. Over time, you'll develop a deeper understanding of how different factors influence the final product.
Home coffee roasting is not only a fun hobby but also a way to deepen your appreciation for this beloved beverage. By following these steps and experimenting with various techniques, you'll soon be crafting delicious cups that reflect your personal taste and style.