Home Roasting 101: A Step-by-Step Guide to Roasting Green Coffee Beans
Roasting your own coffee at home is a rewarding experience that allows you to enjoy fresh, flavorful coffee while experimenting with different roast profiles. If you're new to home roasting, this guide will walk you through the process step by step. You'll soon be on your way to becoming a home roasting enthusiast.
What You Need to Get Started
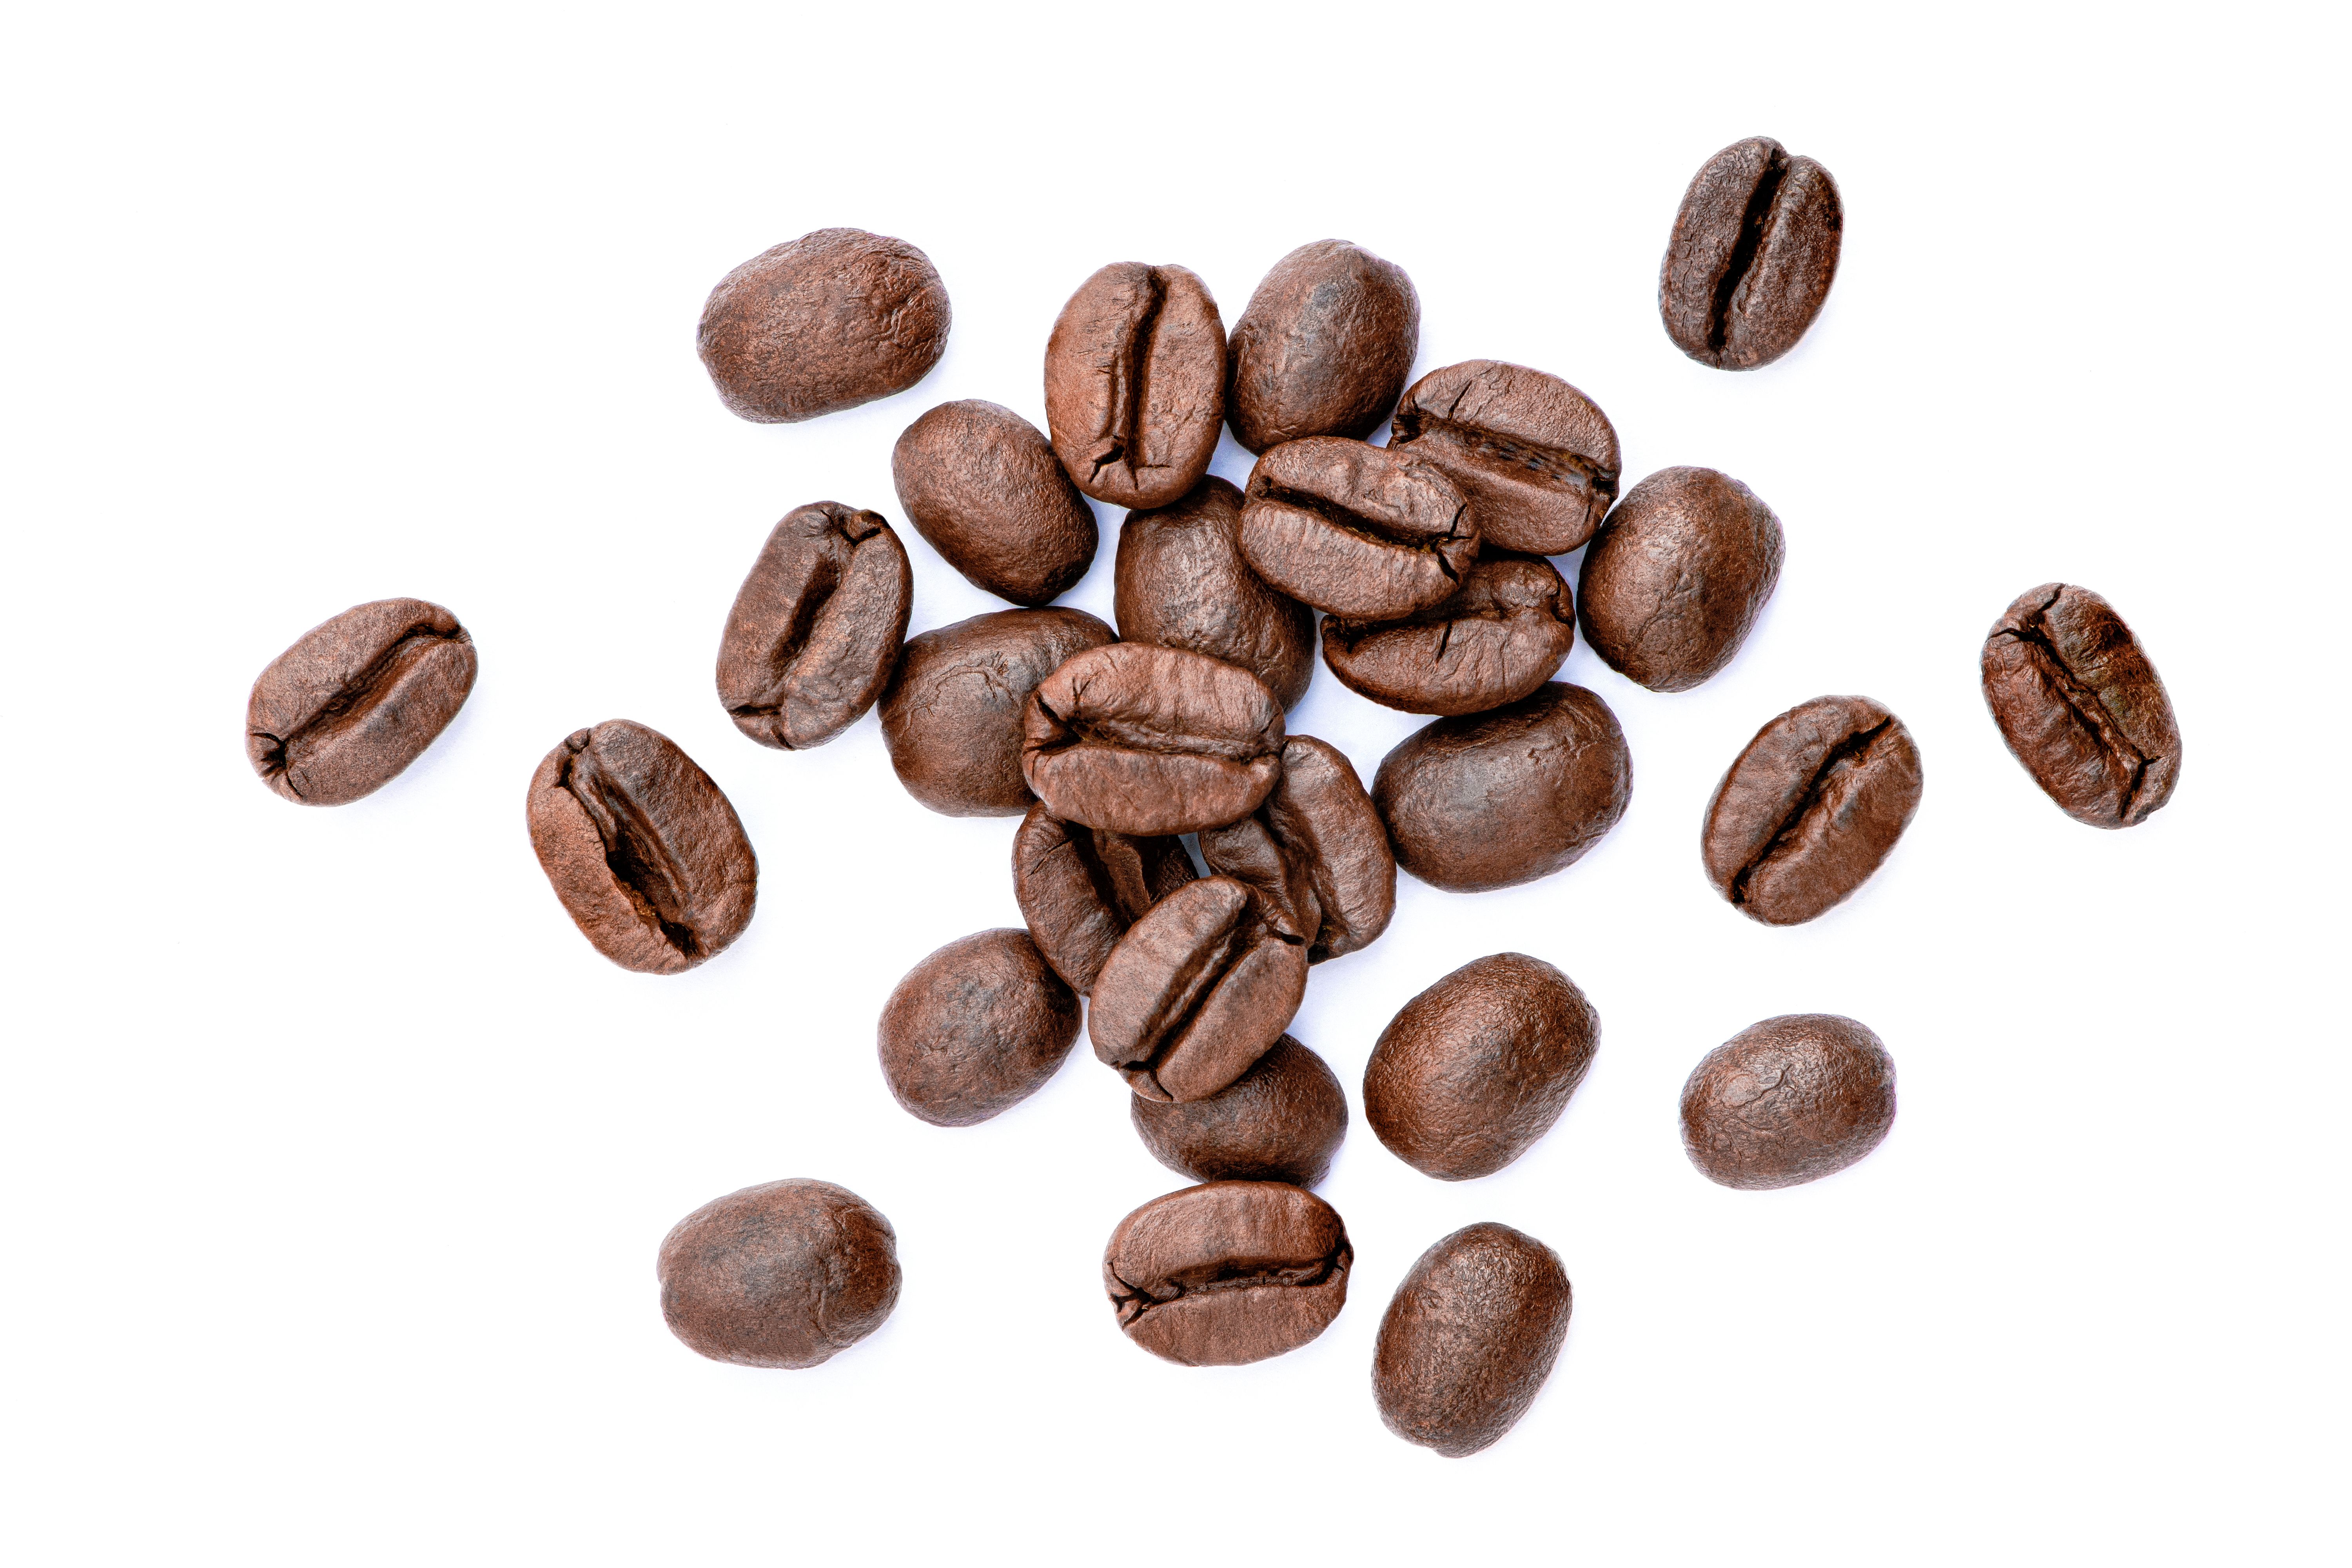
Before you begin roasting, gather the necessary equipment and ingredients. You'll need green coffee beans, a roasting machine or an alternative method, and some basic kitchen tools. Green coffee beans can be sourced from various online retailers or local coffee shops that offer home roasting supplies.
Choosing the Right Roasting Equipment
There are several options for roasting coffee at home. Dedicated coffee roasters are available, but you can also use a popcorn popper, a stovetop skillet, or an oven. Each method has its advantages and challenges. Popcorn poppers and dedicated roasters often provide more consistent results, while stovetop and oven methods require more attention and skill.
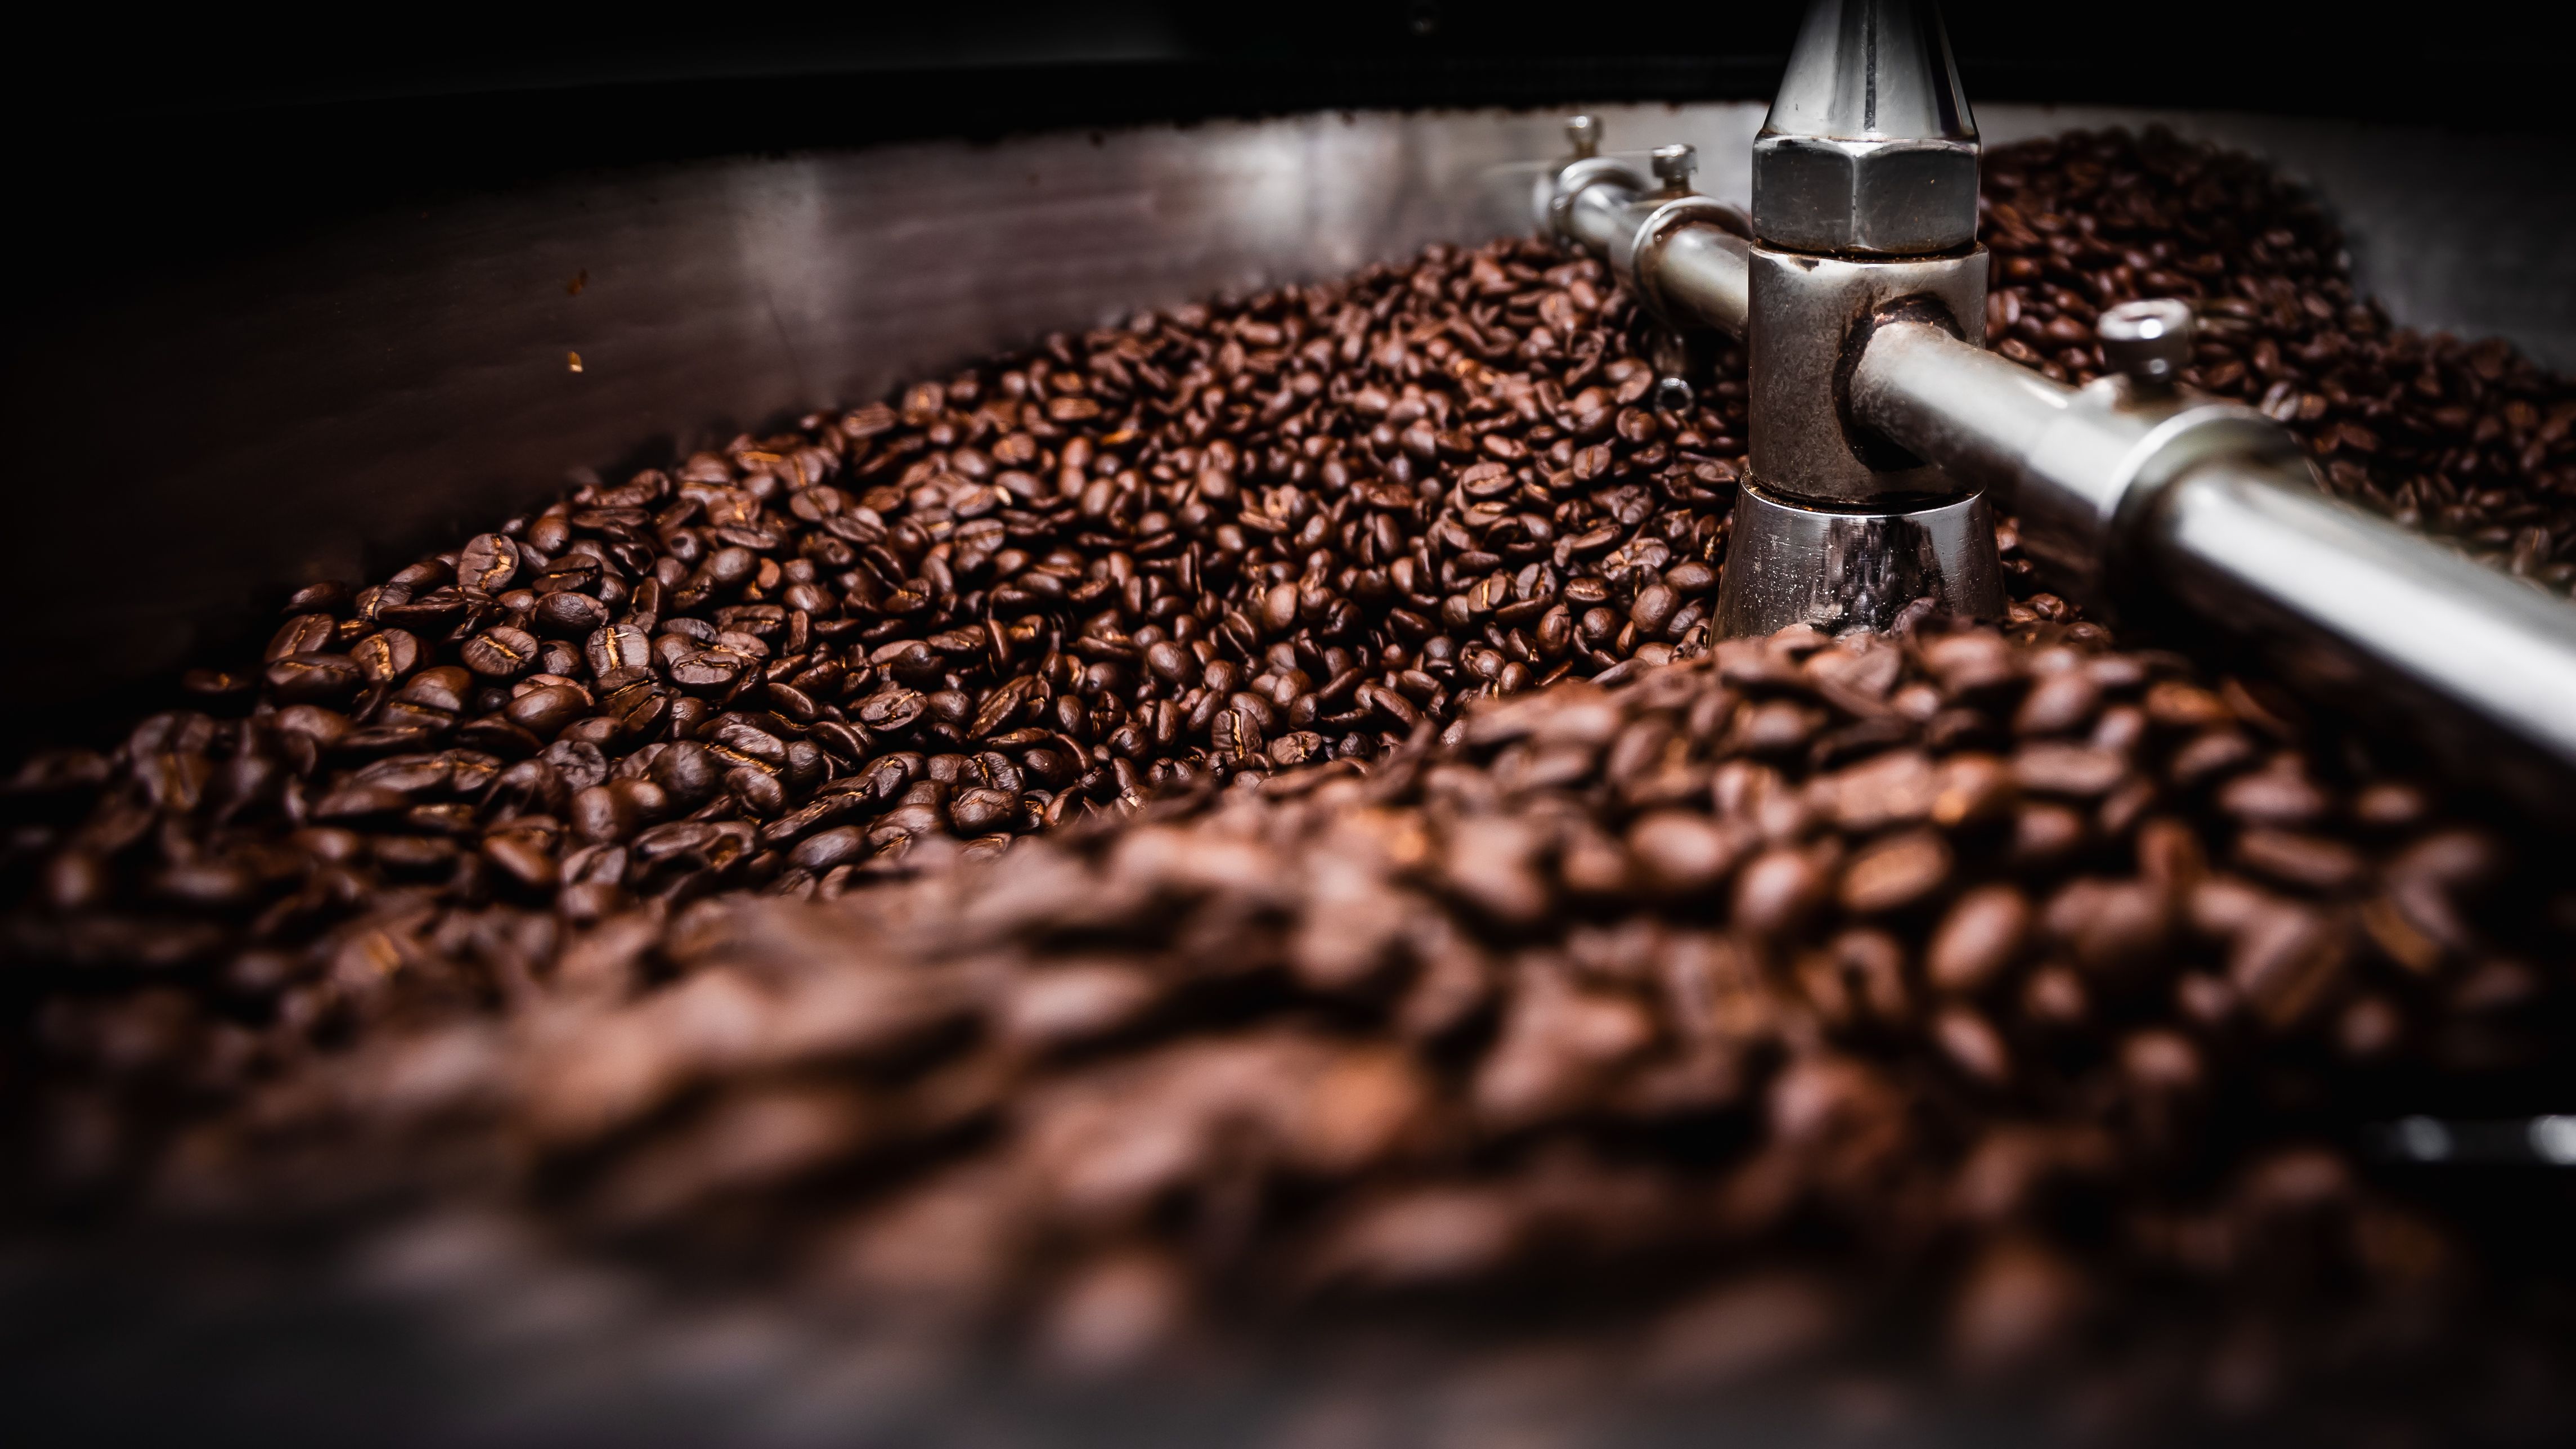
The Roasting Process
Once you have your equipment ready, it’s time to start roasting. Follow these basic steps for a successful roast:
- Preheat your roasting device to the appropriate temperature. For most methods, this is between 350°F and 500°F.
- Add the beans in an even layer, ensuring they have enough room to move freely.
- Monitor the roast closely. Listen for the “first crack” sound, which signals the beans are reaching a light roast. If you prefer a darker roast, continue roasting until the “second crack.”
- Cool the beans quickly to stop the roasting process. Spread them out on a baking sheet or use a fan to speed up cooling.
Understanding Roast Levels
Roast levels significantly impact the flavor of your coffee. Light roasts retain more of the beans’ original flavor and have higher acidity. Medium roasts balance acidity and body, while dark roasts offer a bold, rich taste with lower acidity. Experiment with different roast levels to find your preferred flavor profile.
Storing Your Freshly Roasted Coffee
After roasting, it’s crucial to store your coffee properly to maintain freshness. Use airtight containers and store them in a cool, dark place. Avoid refrigeration, as moisture can degrade the beans. Freshly roasted coffee is best enjoyed within a week or two for optimal flavor.
Troubleshooting Common Issues
Home roasting can have a learning curve, and you might encounter issues like uneven roasting or scorching. Adjusting the temperature, stirring the beans more frequently, or trying a different roasting method can help address these problems. Don’t be discouraged; practice makes perfect.
In conclusion, home roasting is an exciting journey into the world of coffee. With the right tools and a bit of practice, you can enjoy a personalized coffee experience that caters to your taste preferences. Happy roasting!