How to Roast Coffee at Home: A Beginner's Guide with the Right Equipment
Getting Started with Home Coffee Roasting
Roasting coffee at home can be a rewarding experience that allows you to enjoy fresh and flavorful coffee tailored to your taste. With the right equipment and a bit of practice, you'll be able to master the art of coffee roasting. In this guide, we'll walk you through the basics of how to roast coffee at home.
Before you start, it's essential to understand that coffee roasting is both an art and a science. The process involves heating green coffee beans to transform them into the aromatic brown beans we are familiar with. This transformation is influenced by factors like temperature, time, and personal preference. Let's dive into the essentials you need to get started.
Essential Equipment for Home Coffee Roasting
To roast coffee at home, you'll need some basic equipment. Here's a list of what you'll need:
- Green Coffee Beans: Purchase high-quality green coffee beans from a reliable supplier. They are the unroasted seeds of the coffee plant and come in various varieties and origins.
- Roasting Device: There are several types of roasting devices you can use, including air roasters, drum roasters, and even popcorn poppers. Each has its pros and cons, but for beginners, a simple air roaster or popcorn popper is a cost-effective choice.
- Cooling Station: After roasting, you'll need to cool the beans quickly to stop the roasting process. A baking sheet or colander works well for this task.
- Storage Containers: Use airtight containers to store your roasted beans, preserving their freshness and flavor.
The Roasting Process
Once you have your equipment ready, it's time to start roasting. Follow these steps for a successful roast:
- Preheat Your Roaster: Preheat your chosen roasting device according to the manufacturer's instructions. This step ensures an even roast.
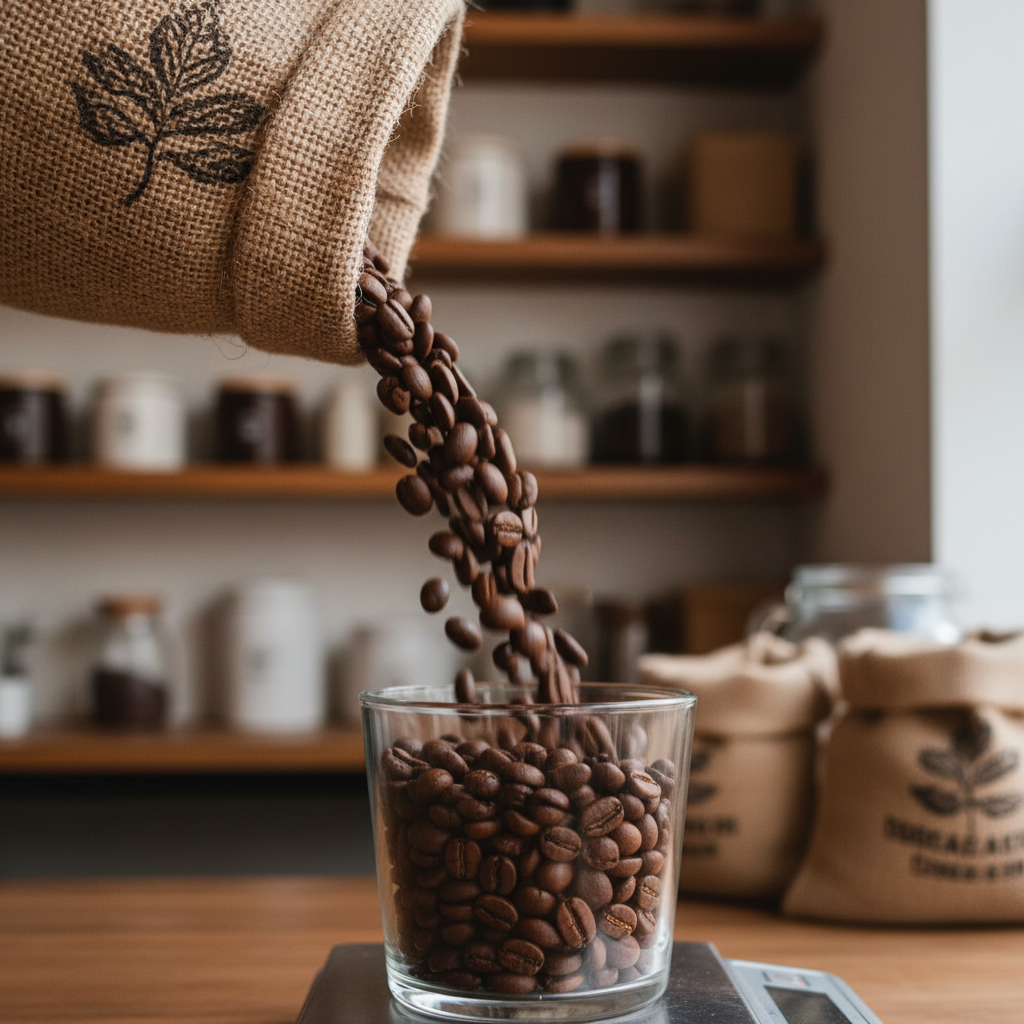
- Add the Green Beans: Measure out the amount of green coffee beans you want to roast. A typical batch size for home roasting is between 100-300 grams.
- Monitor the Roast: Keep an eye on the color and aroma of the beans as they roast. You'll hear the "first crack," a popping sound indicating the beans are reaching a light roast level.
- Determine Your Roast Level: Decide how dark you want your roast to be. For a medium roast, stop shortly after the first crack. For a darker roast, continue until you hear the "second crack."
Cooling and Storing Your Coffee
After reaching your desired roast level, quickly transfer the beans to your cooling station. Spread them out evenly to cool them rapidly and stop the roasting process. Proper cooling helps maintain the flavor and aroma of your coffee.
Once the beans are cooled, store them in an airtight container. Allow them to rest for 12-24 hours to let the carbon dioxide escape and the flavors to develop fully. Your home-roasted coffee will be at its best within a week of roasting.
Experimenting with Flavors
One of the joys of home roasting is the ability to experiment with different flavors. Try roasting beans from various regions to discover unique flavor profiles. Adjust the roast level to see how it affects the taste. You can even blend different beans to create a custom mix that fits your preference.
Roasting coffee at home is a fulfilling hobby that allows you to explore the world of coffee in a new way. With practice and experimentation, you'll develop your skills and enjoy a cup of coffee that's truly your own. So gather your equipment, choose your beans, and start roasting today!