How to Roast Coffee at Home: A Step-by-Step Tutorial for Beginners
Why Roast Coffee at Home?
Roasting coffee at home can be a rewarding experience, offering you fresh flavors and a deeper appreciation for your daily brew. By roasting your own beans, you can control the roast level and experiment with different flavors, ensuring that each cup is exactly to your taste. Plus, it's a fun activity that can enhance your coffee knowledge and skills.
Understanding Coffee Roasting Basics
Before diving into the roasting process, it's essential to understand the basics. Coffee roasting involves heating green coffee beans to transform them into the aromatic brown beans we all love. During roasting, beans undergo physical and chemical changes that affect their flavor, aroma, and body. The key is to manage the temperature and time to achieve the desired roast level.
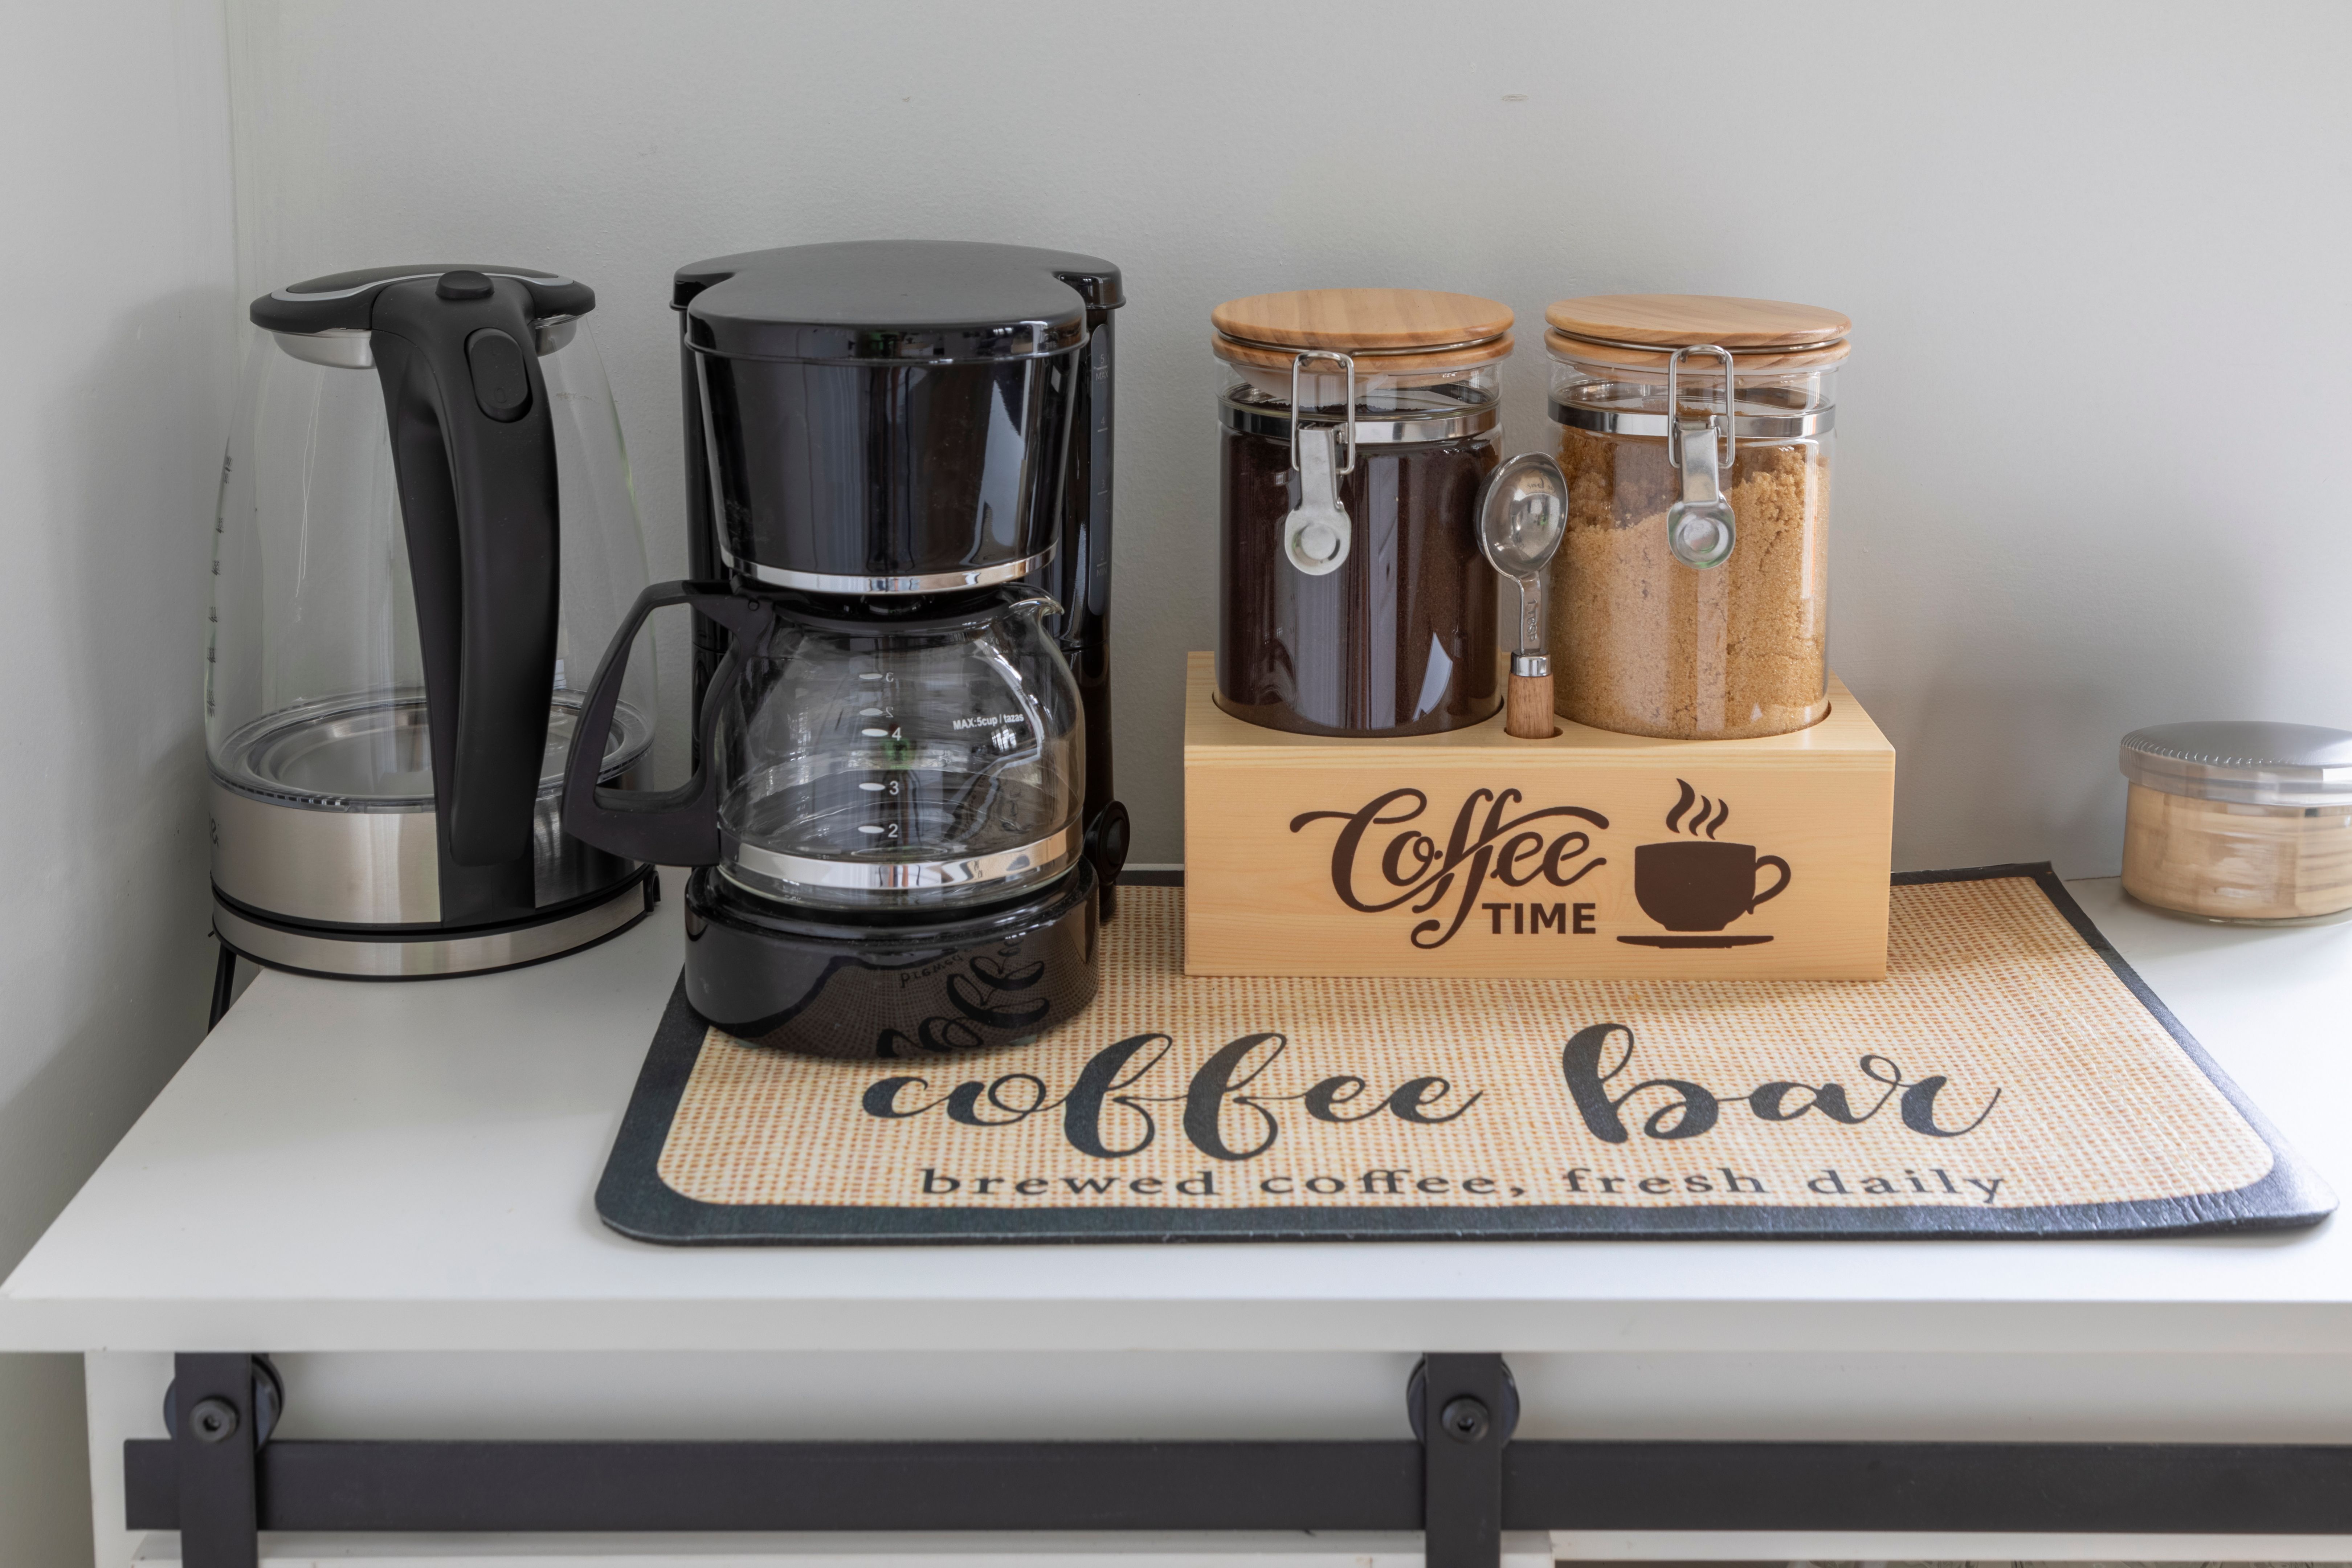
Gathering Your Materials
To get started, you'll need a few basic tools. Here's what you'll need:
- Green coffee beans: Choose a variety that appeals to your taste preferences.
- Roasting equipment: You can use a stovetop popcorn popper, an oven, or a dedicated coffee roaster.
- Colander or cooling tray: For cooling the beans after roasting.
- Storage container: An airtight container to keep your roasted beans fresh.
Step-by-Step Roasting Guide
Follow these steps to roast your coffee beans at home:
- Preheat your equipment: If using an oven or popcorn popper, preheat it to around 450°F (232°C).
- Add the green beans: Place a small batch of green beans in your roasting equipment, ensuring they're in a single layer for even roasting.
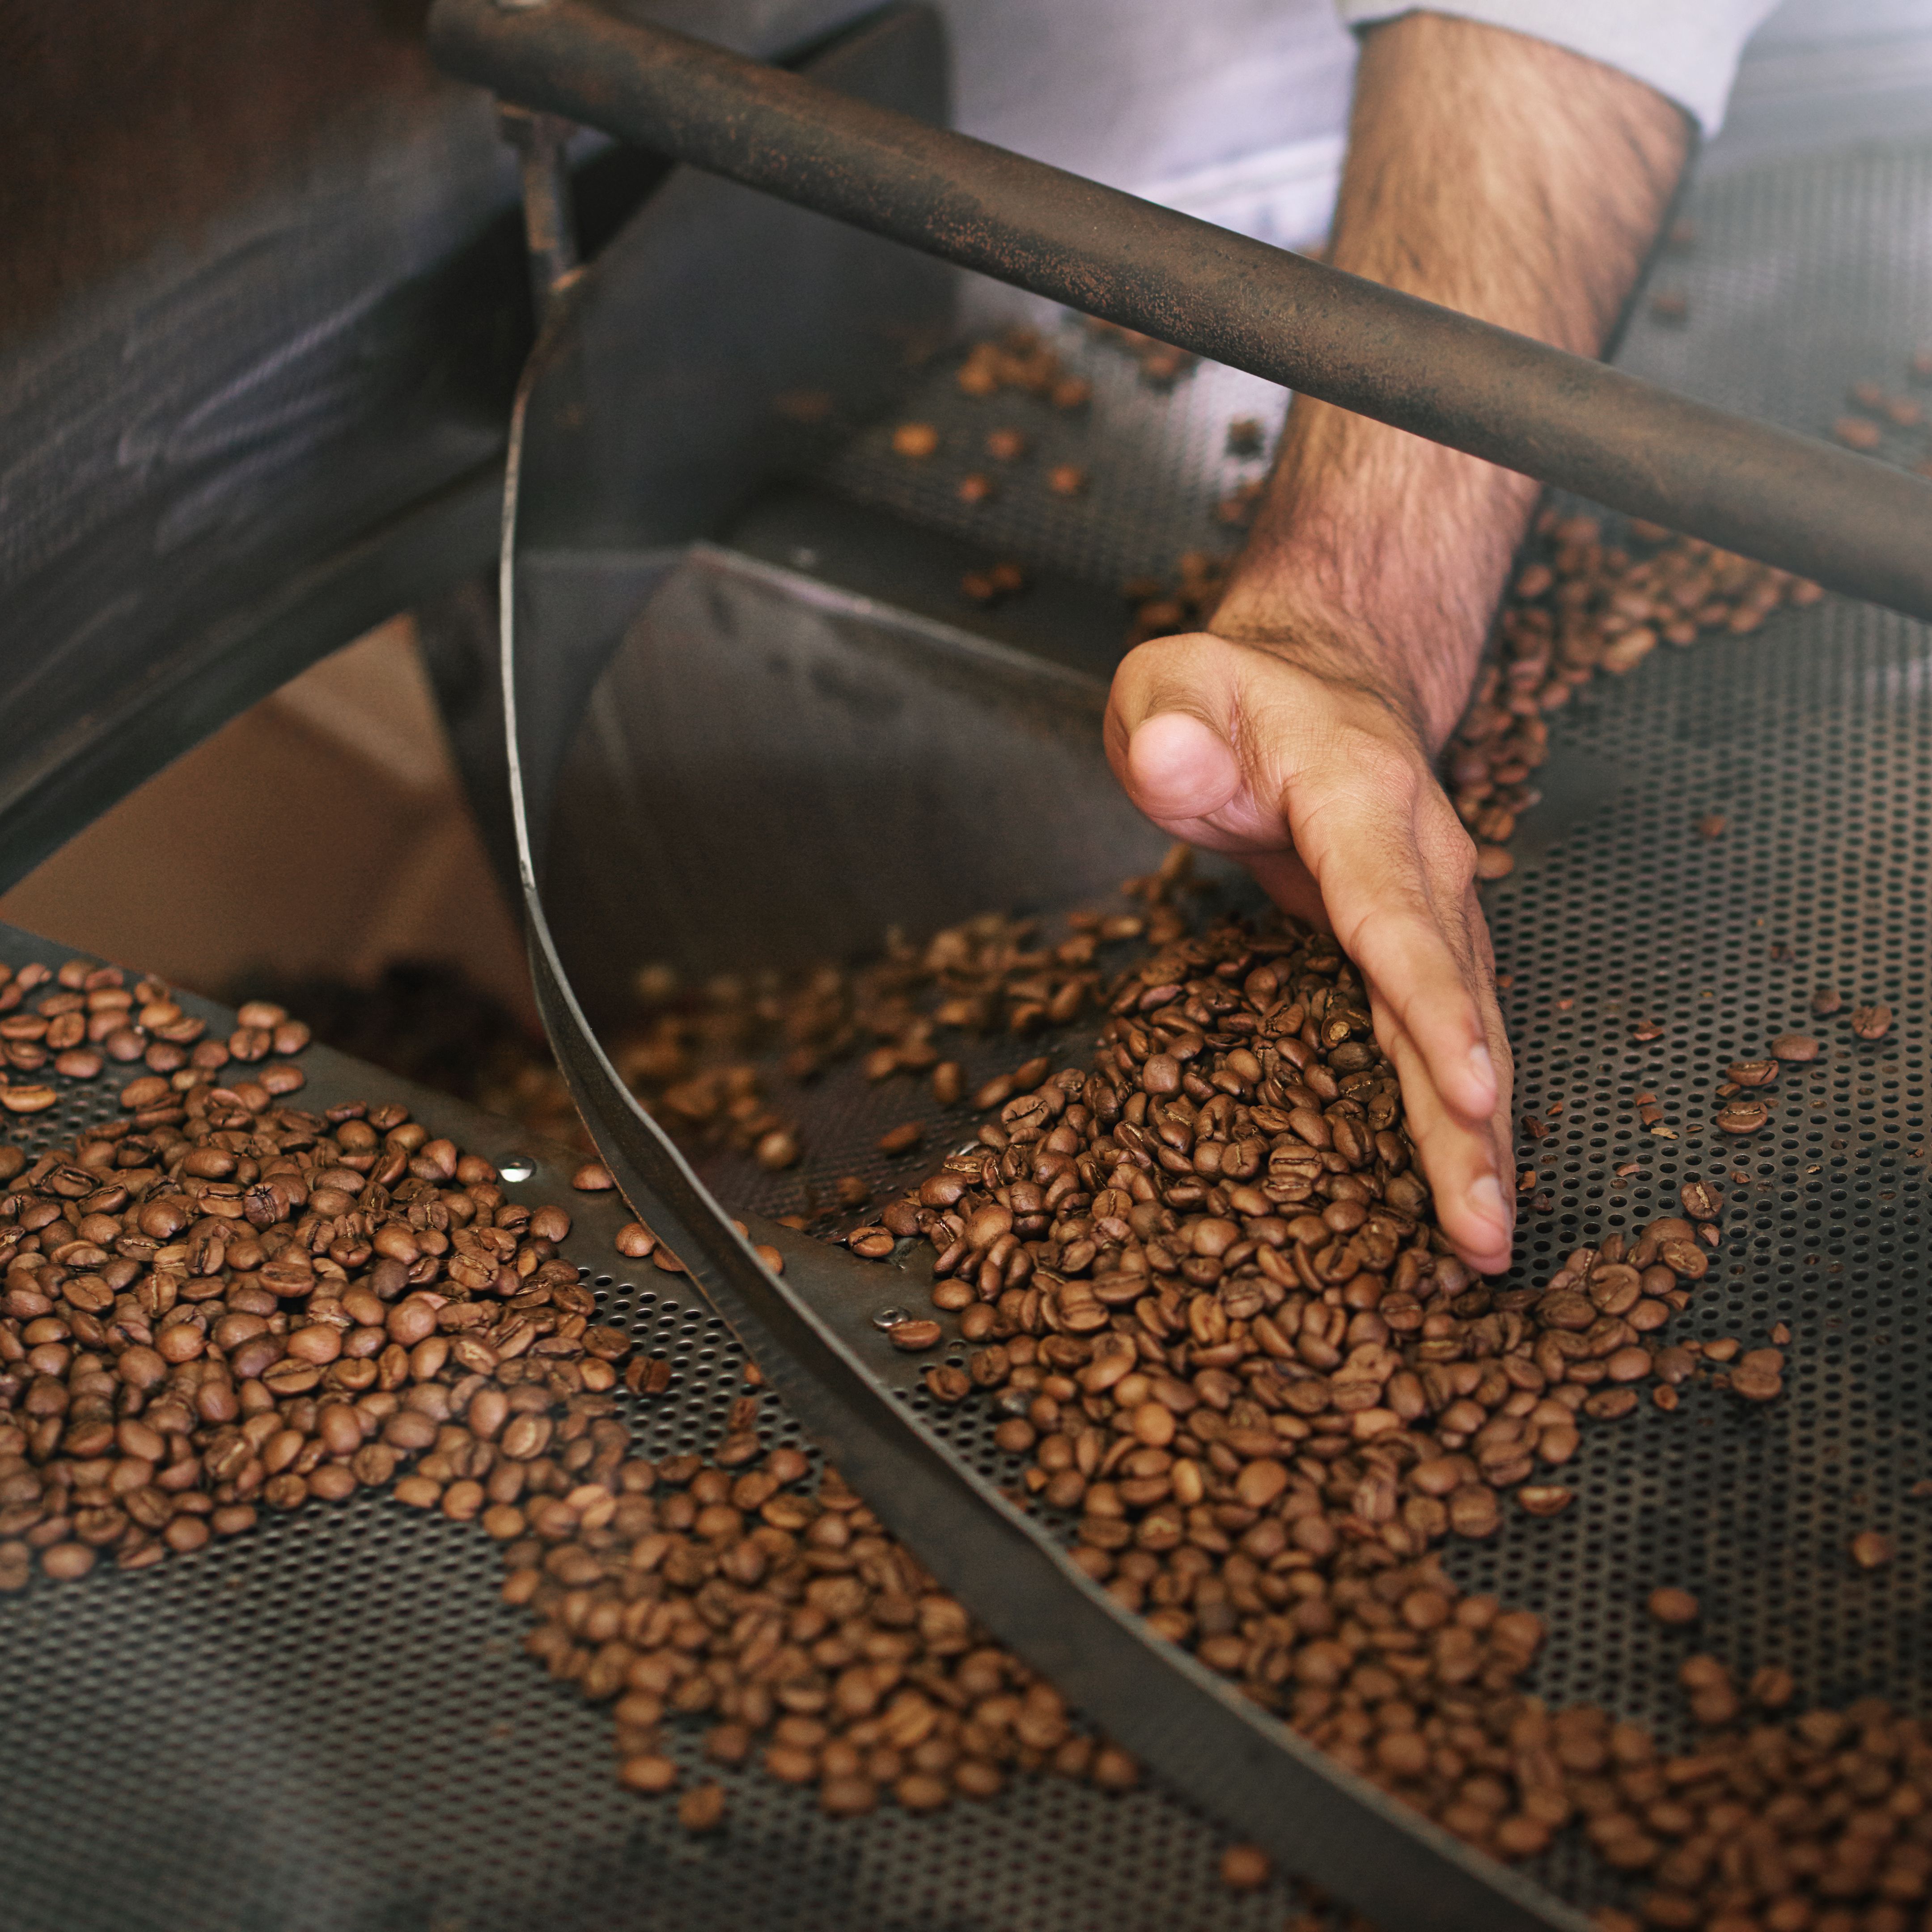
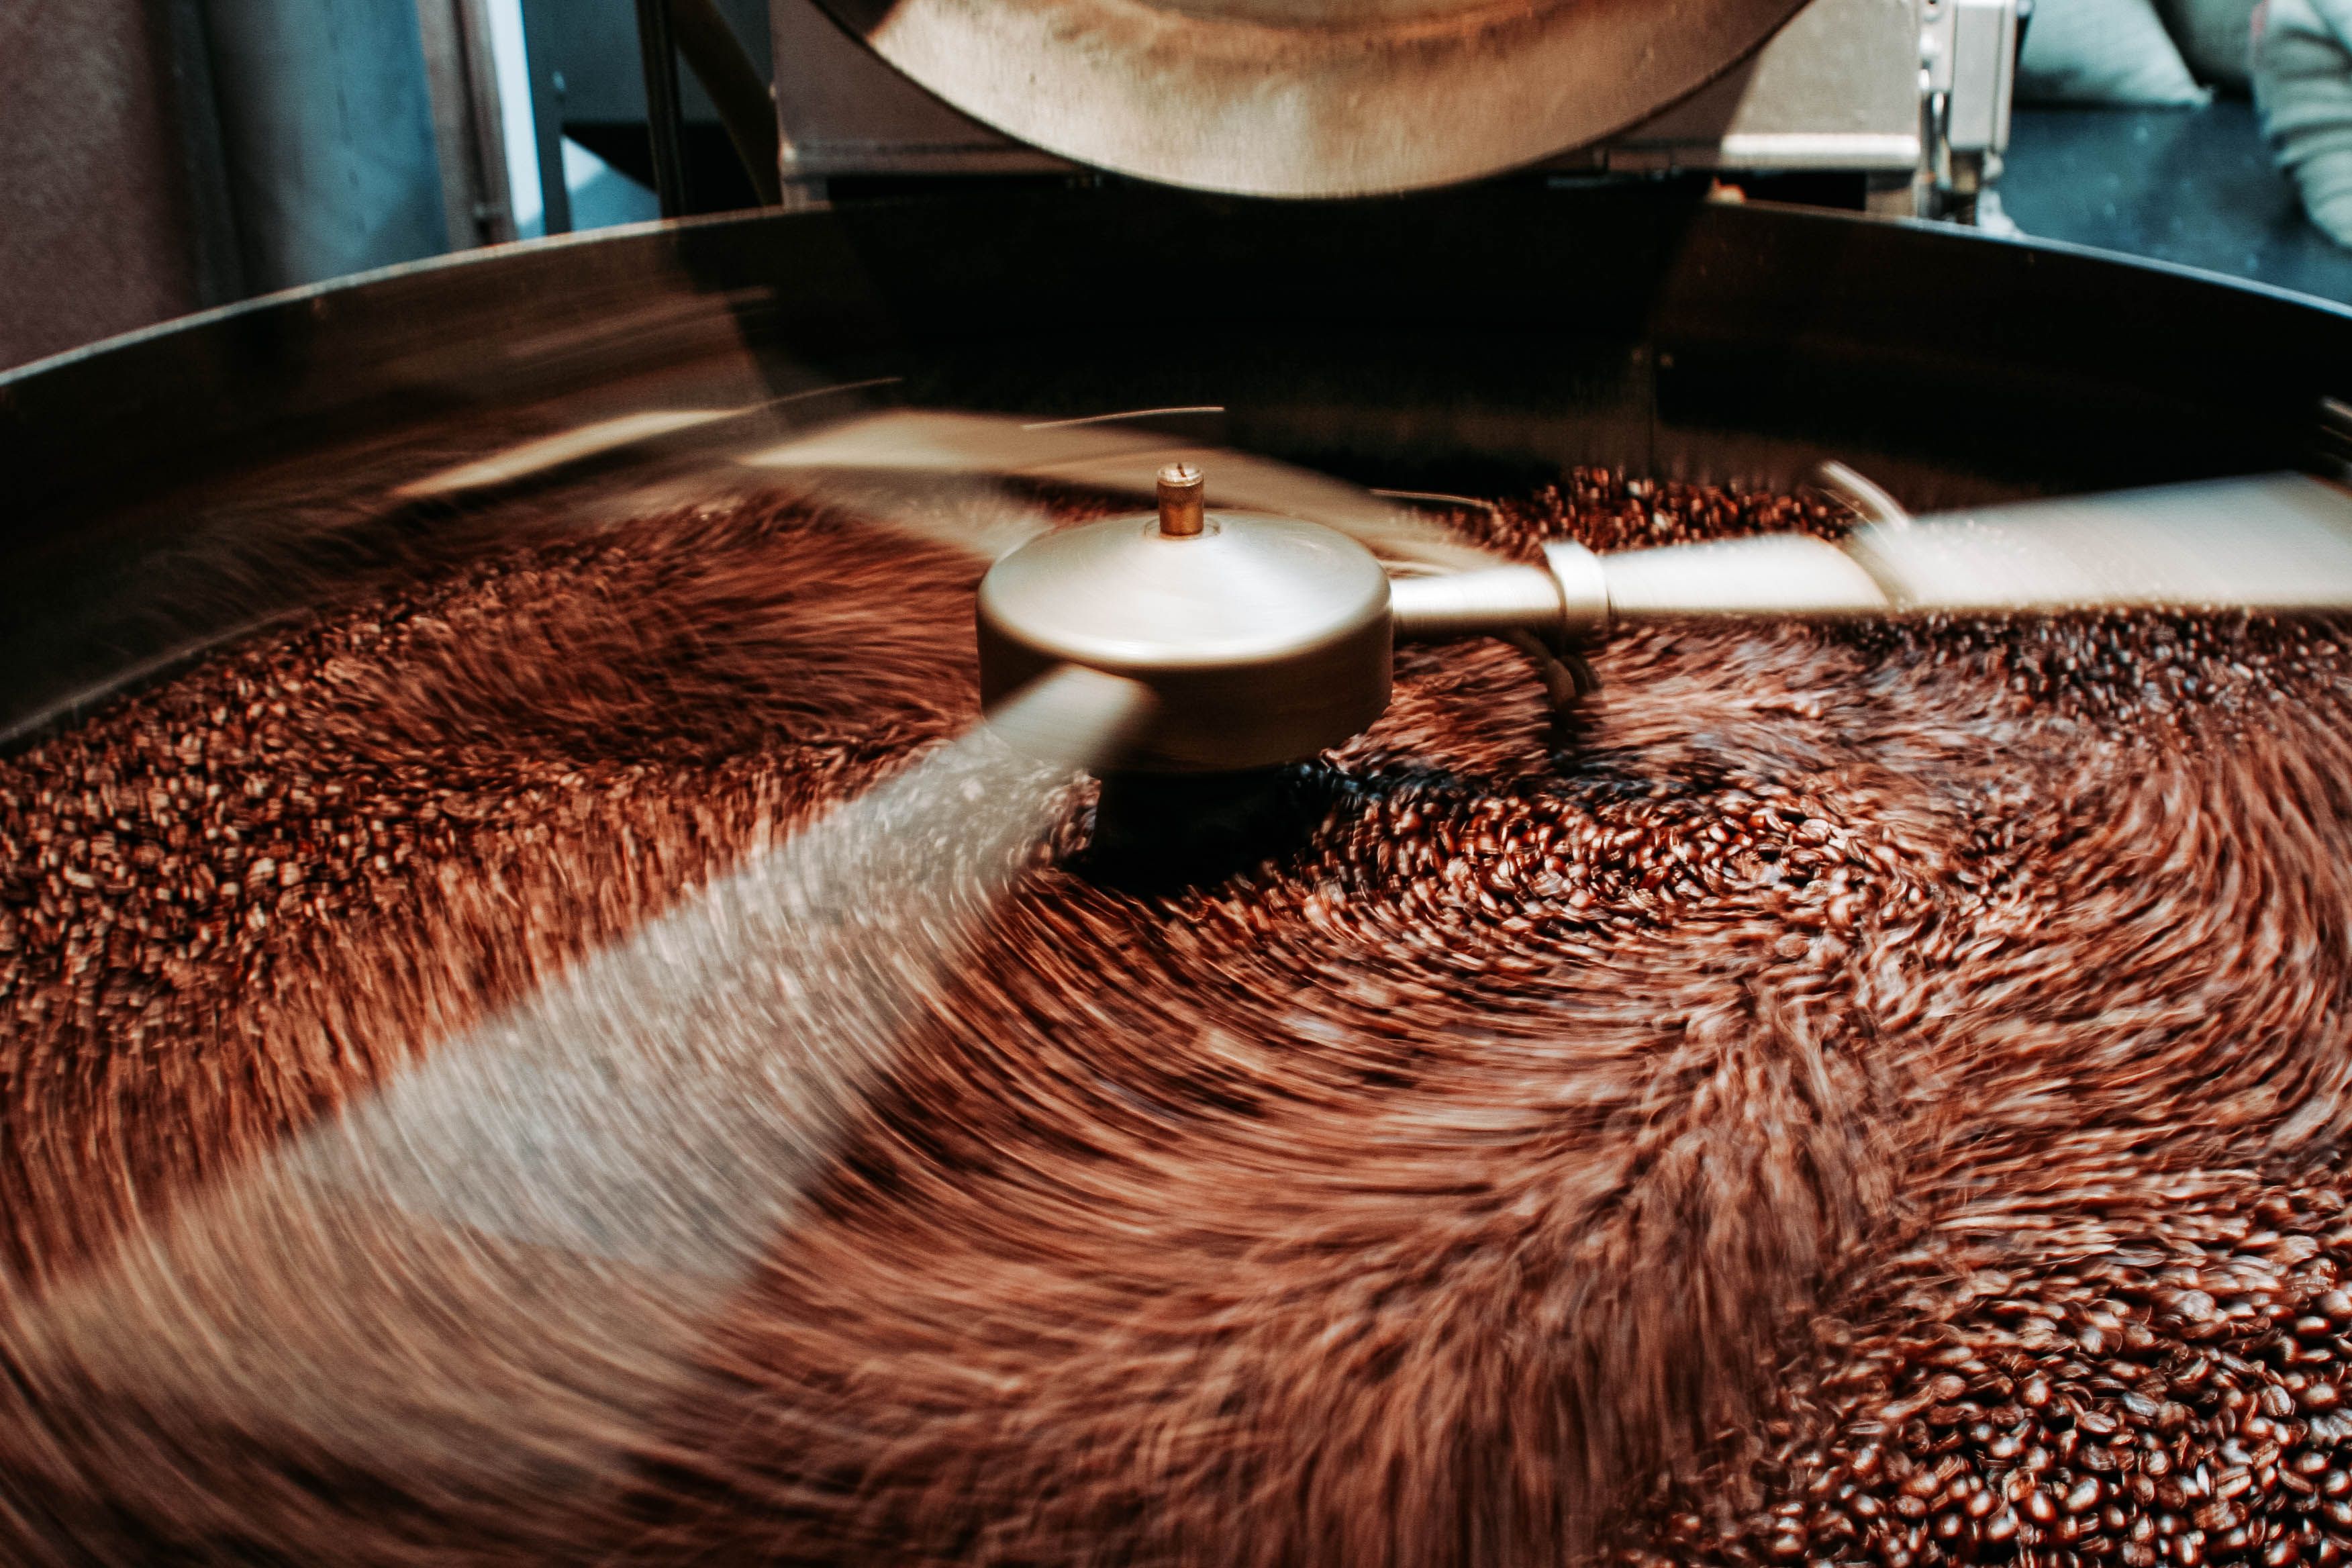
- Start roasting: Begin by stirring or agitating the beans to prevent scorching and ensure even heat distribution.
- Listen for the first crack: After a few minutes, you'll hear the first crack, indicating the beans are entering the light roast stage.
- Monitor the roast: Continue roasting until you reach your desired level. For medium roasts, wait for the second crack; for dark roasts, extend the time slightly longer.
- Cool the beans: Once roasted, immediately transfer the beans to a colander or cooling tray, shaking them gently to cool quickly.
Storing Your Roasted Coffee
Proper storage is crucial for maintaining the flavor of your freshly roasted coffee. Store your beans in an airtight container in a cool, dark place. It's best to consume them within two weeks for optimal freshness. Avoid storing them in the fridge or freezer, as this can introduce moisture and affect flavor.
Tasting and Adjusting
Once your coffee is roasted and stored, it's time to brew and taste. Pay attention to the flavors and aromas in your cup. If necessary, adjust future roasts by altering the time or temperature to better match your taste preferences. Experimenting with different roast levels can help you discover new dimensions in your coffee experience.
Final Thoughts
Roasting coffee at home is not only a cost-effective way to enjoy fresh coffee but also an exciting journey into the world of coffee craft. With practice and patience, you can refine your process and create a perfect cup tailored just for you. So grab some green beans, fire up your roaster, and start exploring the delightful world of home coffee roasting today!