How to Roast Green Coffee at Home: A Step-by-Step Guide
Roasting green coffee beans at home can be a rewarding and aromatic experience. Not only does it allow you to customize the flavor to your liking, but it also fills your home with the delightful scent of freshly roasted coffee. Here's a step-by-step guide to get you started on your home roasting journey.
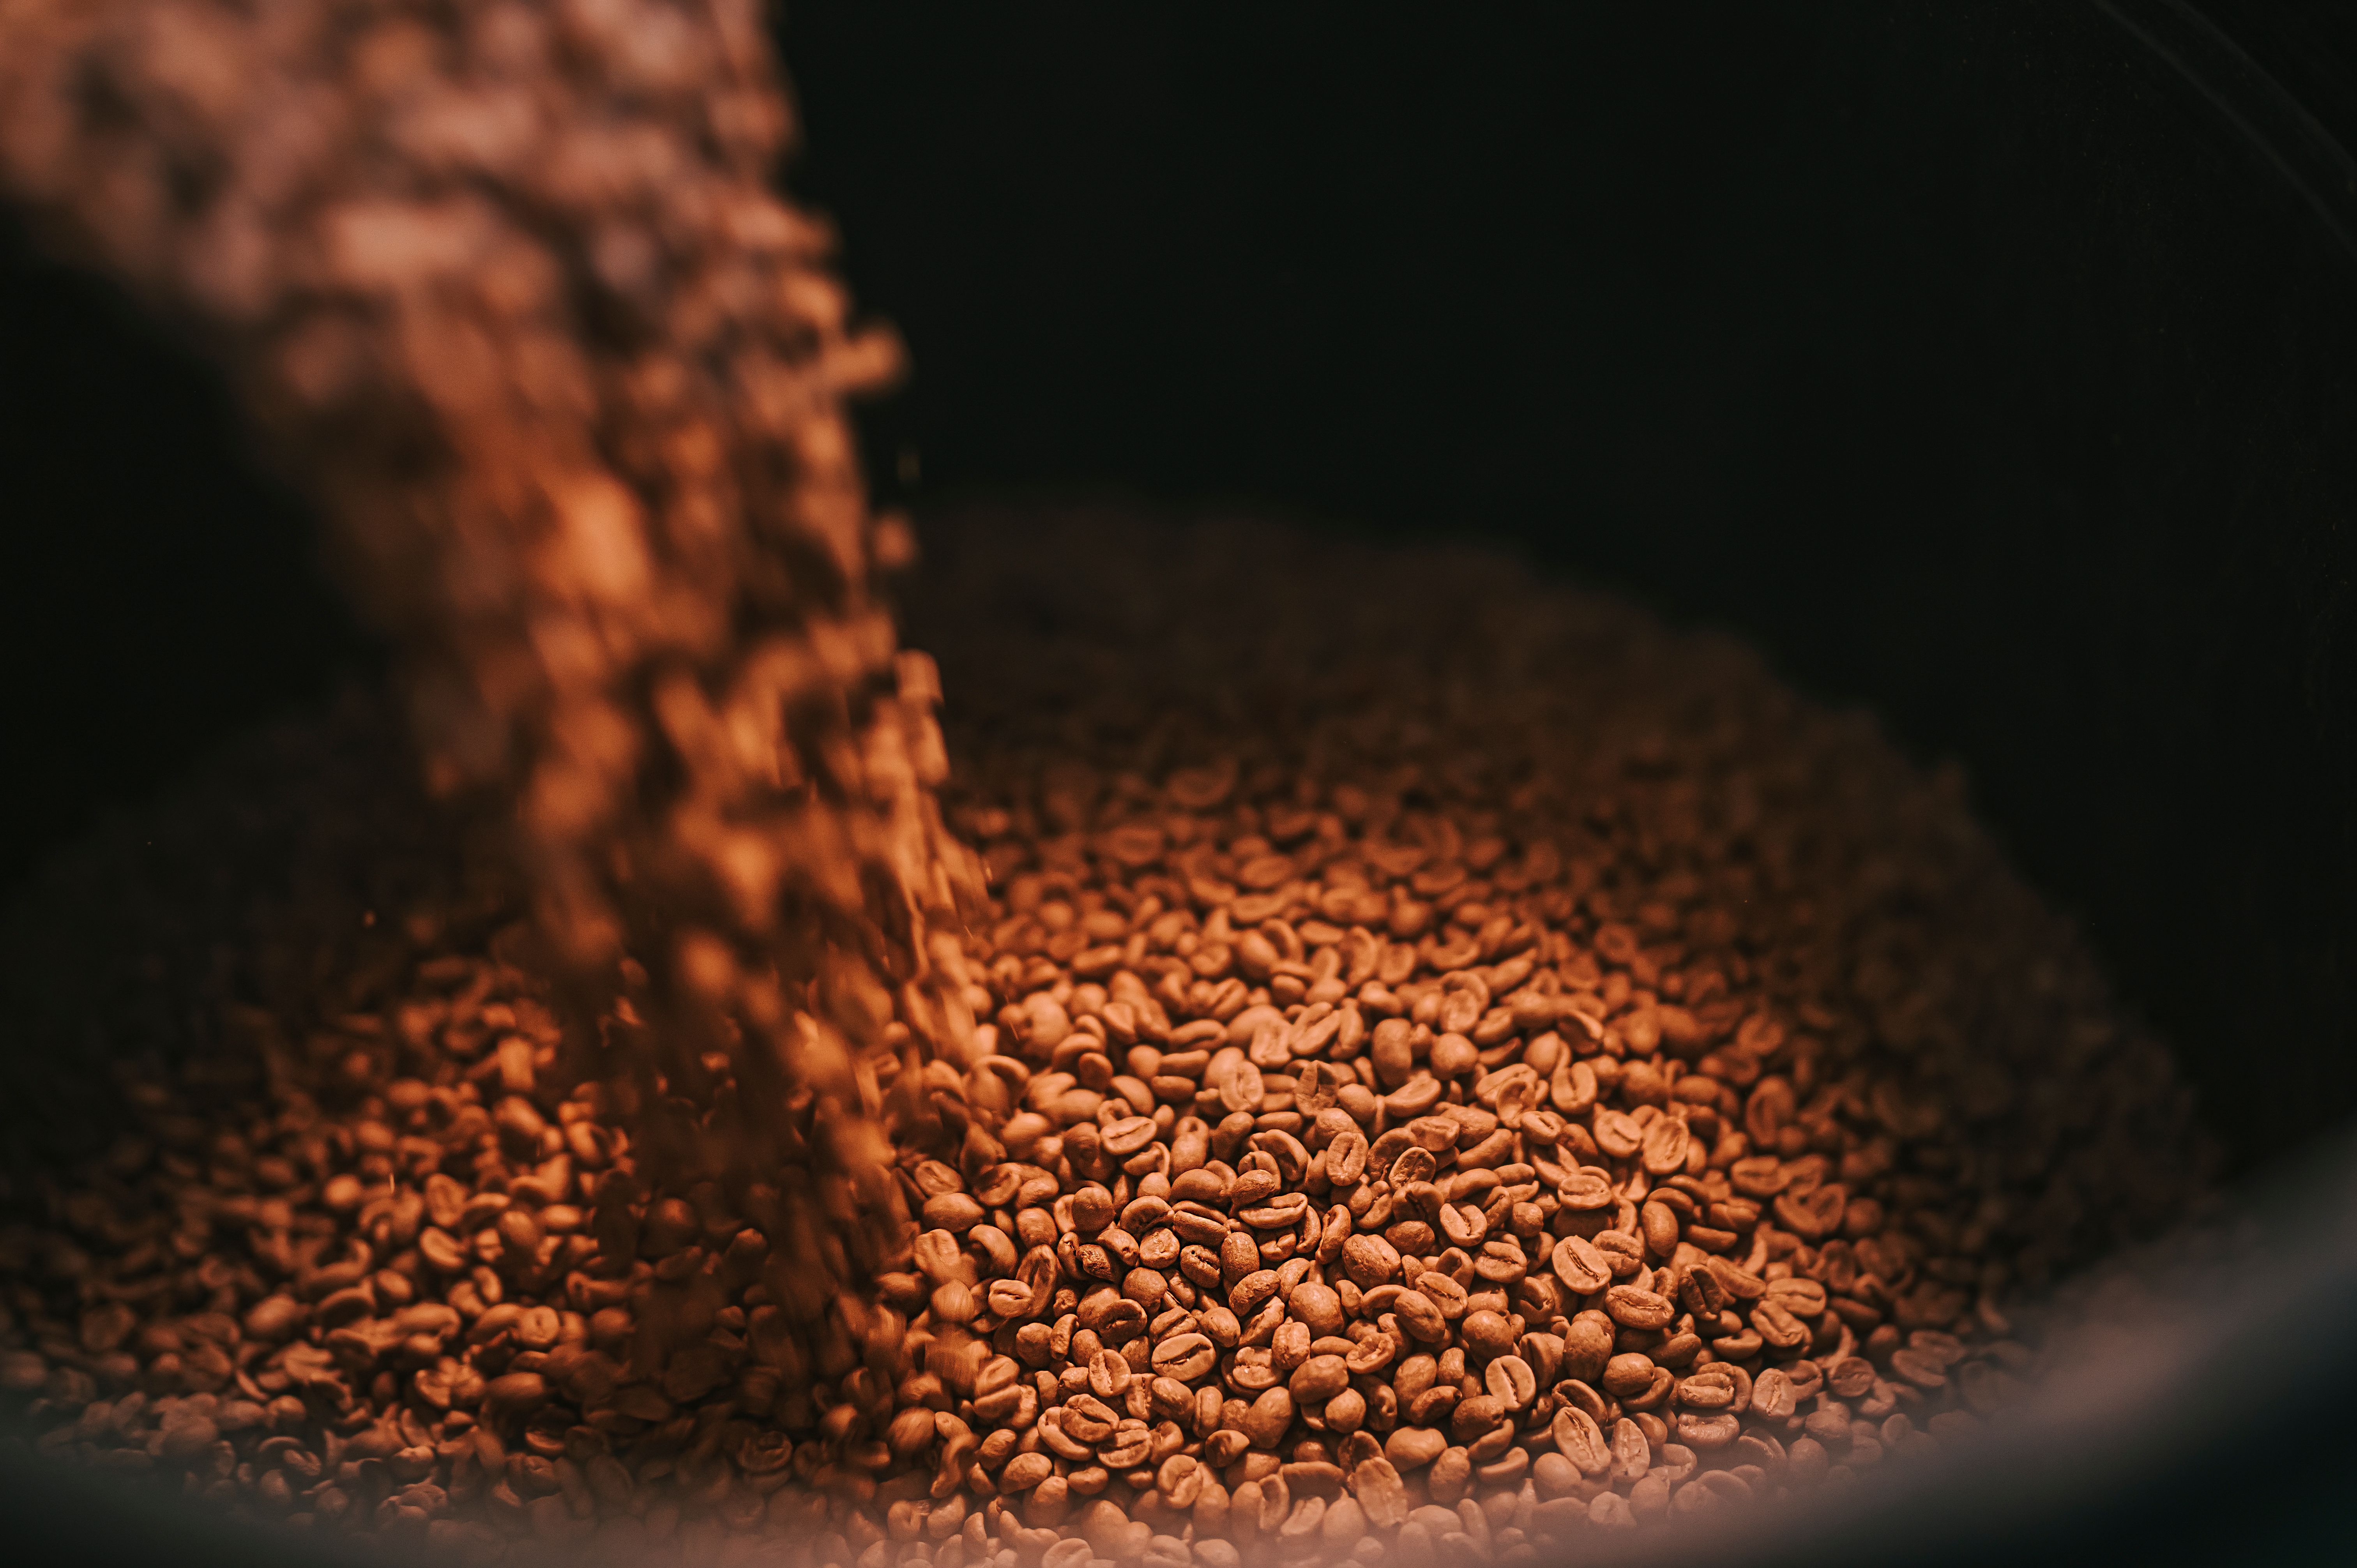
Choosing Your Green Coffee Beans
The first step in roasting coffee at home is selecting the right green coffee beans. You can find these at specialty coffee shops or online retailers. Consider the origin, flavor notes, and roast level you desire when making your choice. Each bean type has its own unique characteristics that can be highlighted through roasting.
Storing Your Green Coffee Beans
Proper storage is essential to keep your green beans fresh and ready for roasting. Store them in a cool, dark, and dry place. An airtight container can help preserve their quality over time. Unlike roasted beans, green beans can last for a year or more if stored correctly.
Setting Up Your Roasting Equipment
Before you begin roasting, gather your equipment. You can use a variety of tools to roast coffee at home, such as a popcorn popper, a stovetop pan, or a dedicated coffee roaster. Each method has its own benefits and challenges, so choose one that fits your comfort level and budget.
Preparing Your Roasting Area
Roasting coffee can produce smoke and chaff, so ensure your area is well-ventilated. Open a window or use a fan to help circulate the air. It's also wise to have a fire extinguisher nearby as a safety precaution.
The Roasting Process
Roasting coffee involves heating the beans to transform their chemical and physical properties. Here’s a simple process to follow:
- Preheat your chosen roasting device.
- Add a small amount of green coffee beans.
- Stir or shake the beans to ensure even roasting.
- Listen for the "first crack," which indicates the beans are reaching a light roast.
- Continue roasting to your desired level, whether it's medium or dark.
Cooling and Storing Your Roasted Coffee
Once your beans have reached the desired roast level, quickly cool them by spreading them on a baking sheet or using a colander to shake. Properly cooled beans will retain their flavor and aroma. Store your roasted coffee in an airtight container away from light and moisture to maintain freshness.
Tasting and Enjoying Your Coffee
After the beans have rested for a day, it's time to grind and brew your coffee. Notice the flavors and aromas that come from your personalized roast. Adjust the roasting time and method in future batches to further refine your perfect cup.

Roasting coffee at home is an art that improves with practice. Each batch is an opportunity to explore new flavors and deepen your appreciation for this beloved beverage. Enjoy the journey of crafting coffee that suits your taste perfectly!