How to Roast Green Coffee Beans at Home: A Beginner's Guide
Why Roast Your Own Coffee?
Roasting your own coffee beans at home can be an exciting and rewarding experience. It allows you to control the flavor profile and freshness of your coffee, ensuring a unique and personalized cup every time. Additionally, home roasting can be more cost-effective in the long run, as green coffee beans are often cheaper than pre-roasted ones.
What You Need to Get Started
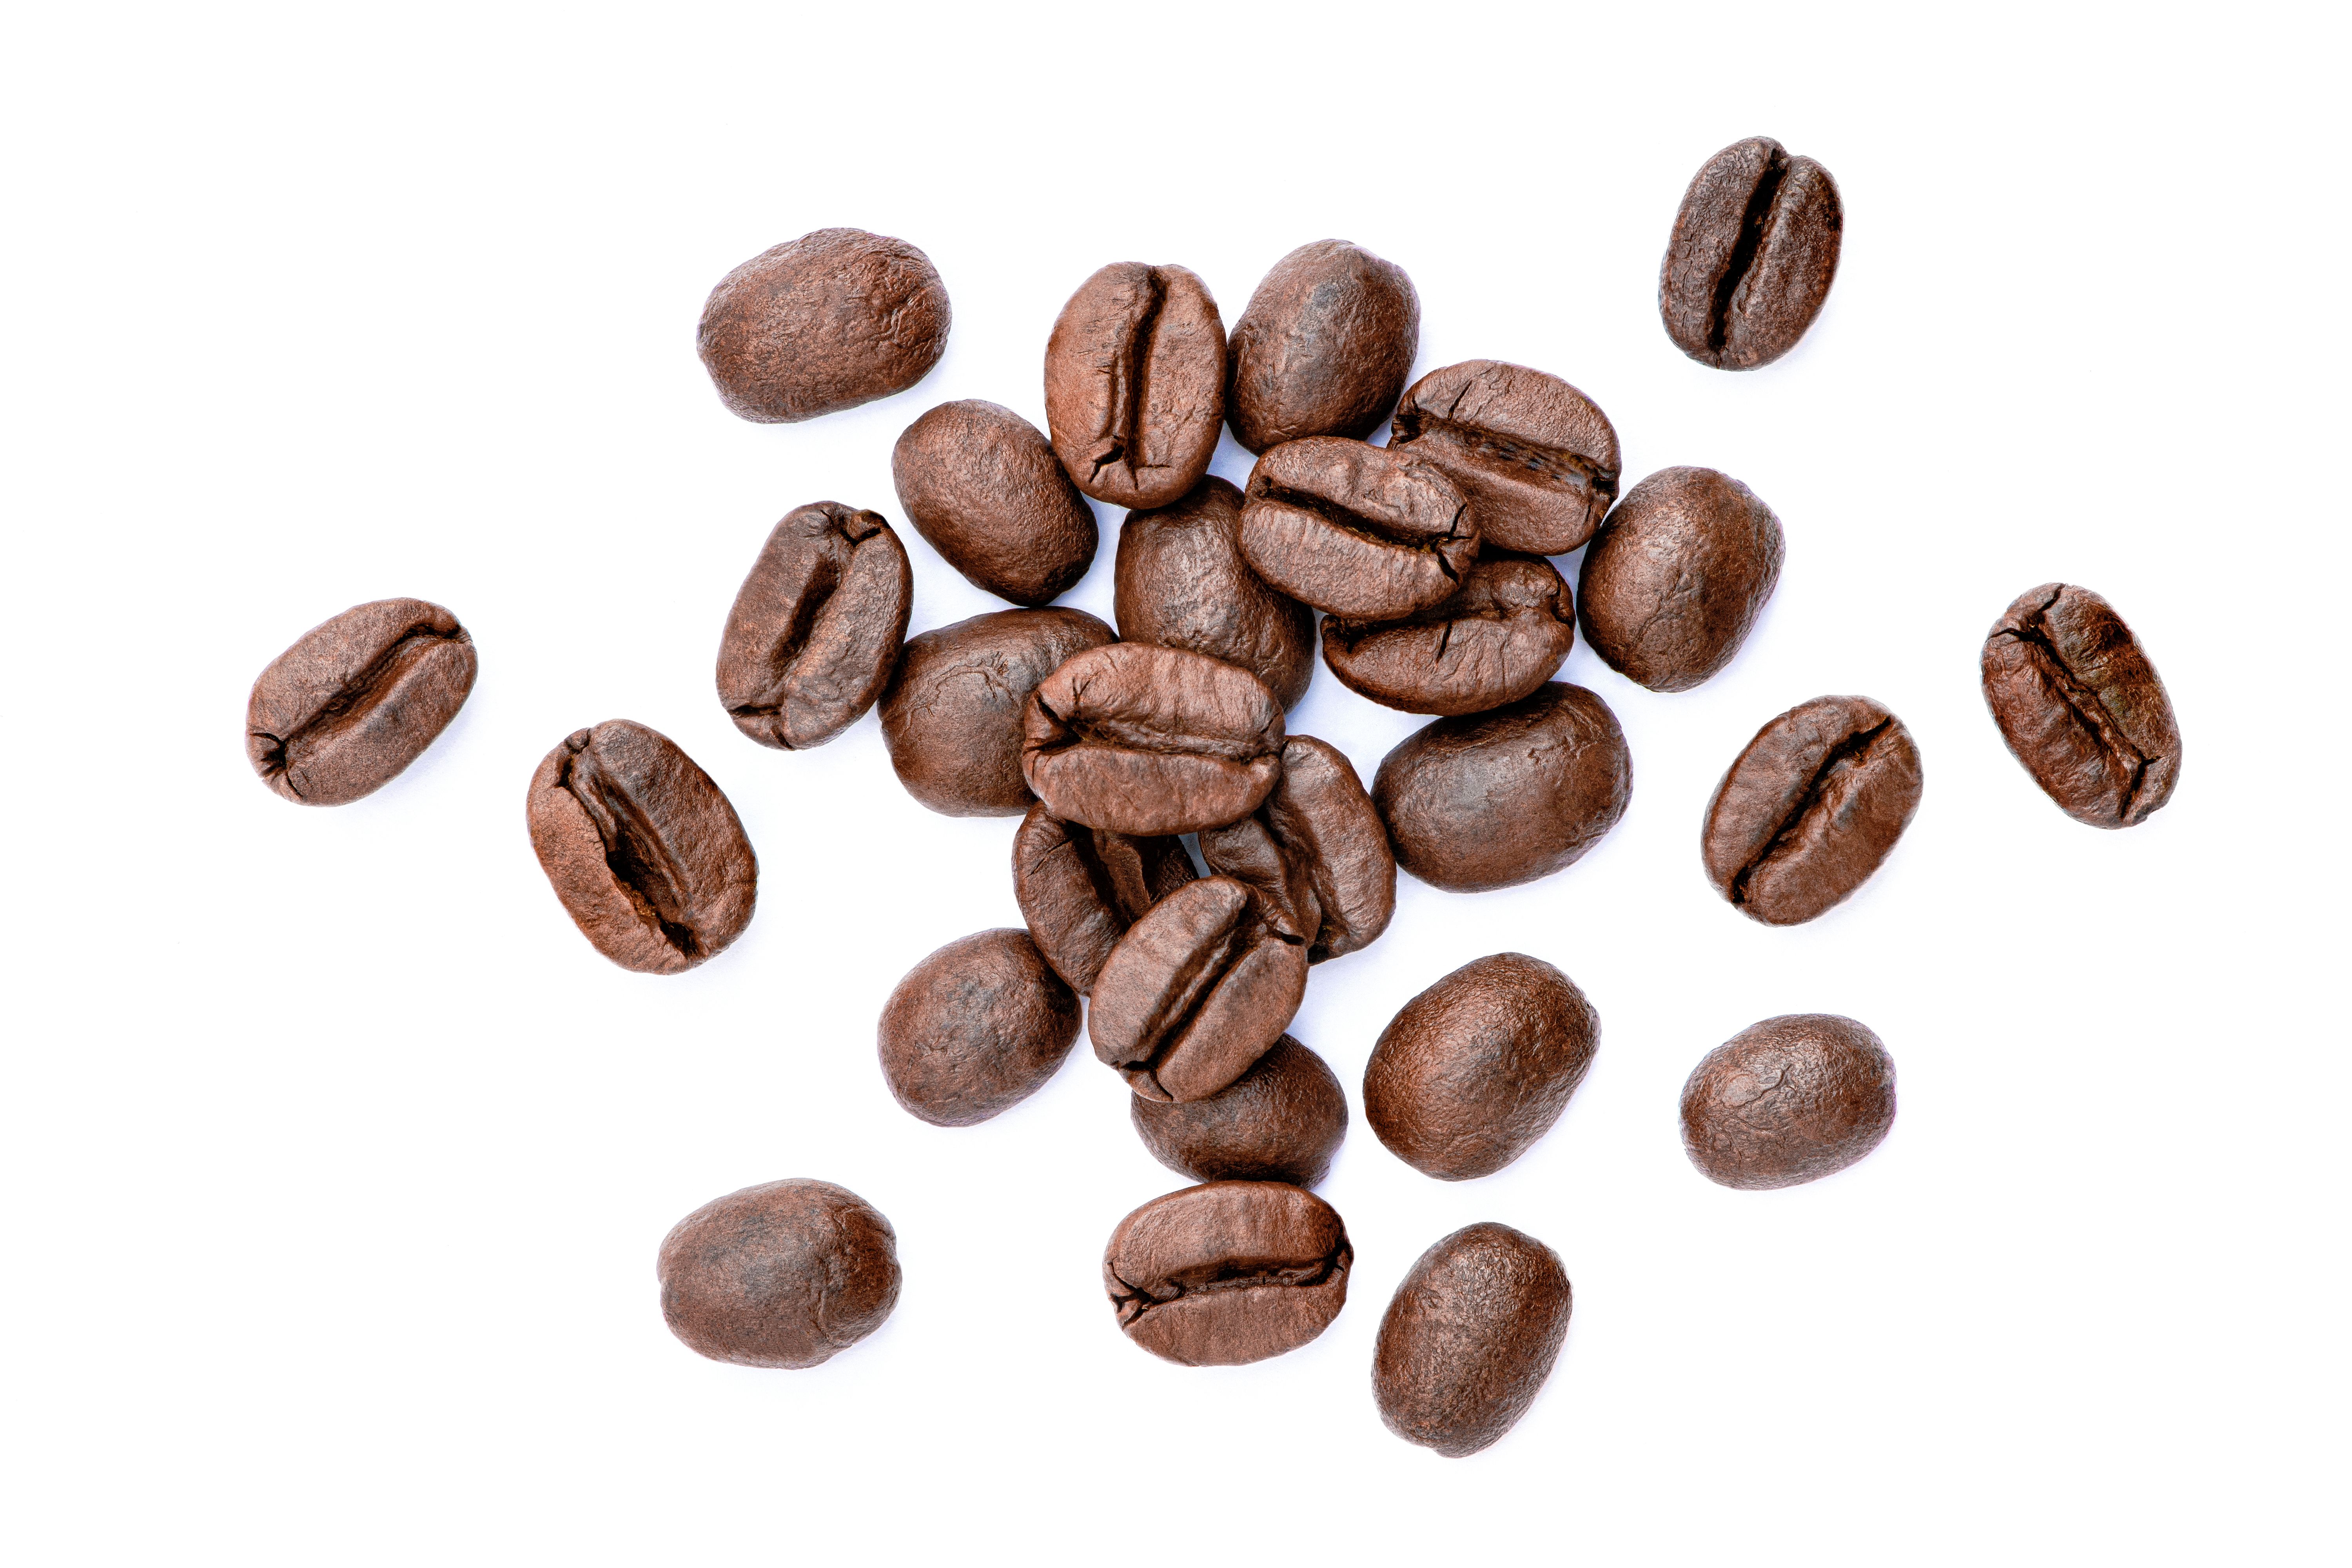
Before diving into the roasting process, you'll need a few essential items. First, you'll need green coffee beans, which can be purchased online or at specialty stores. Next, a roasting device is crucial. Options range from basic popcorn poppers to dedicated home coffee roasters. Lastly, you'll need a heat-resistant spoon and a colander for cooling the beans.
Choosing Your Equipment
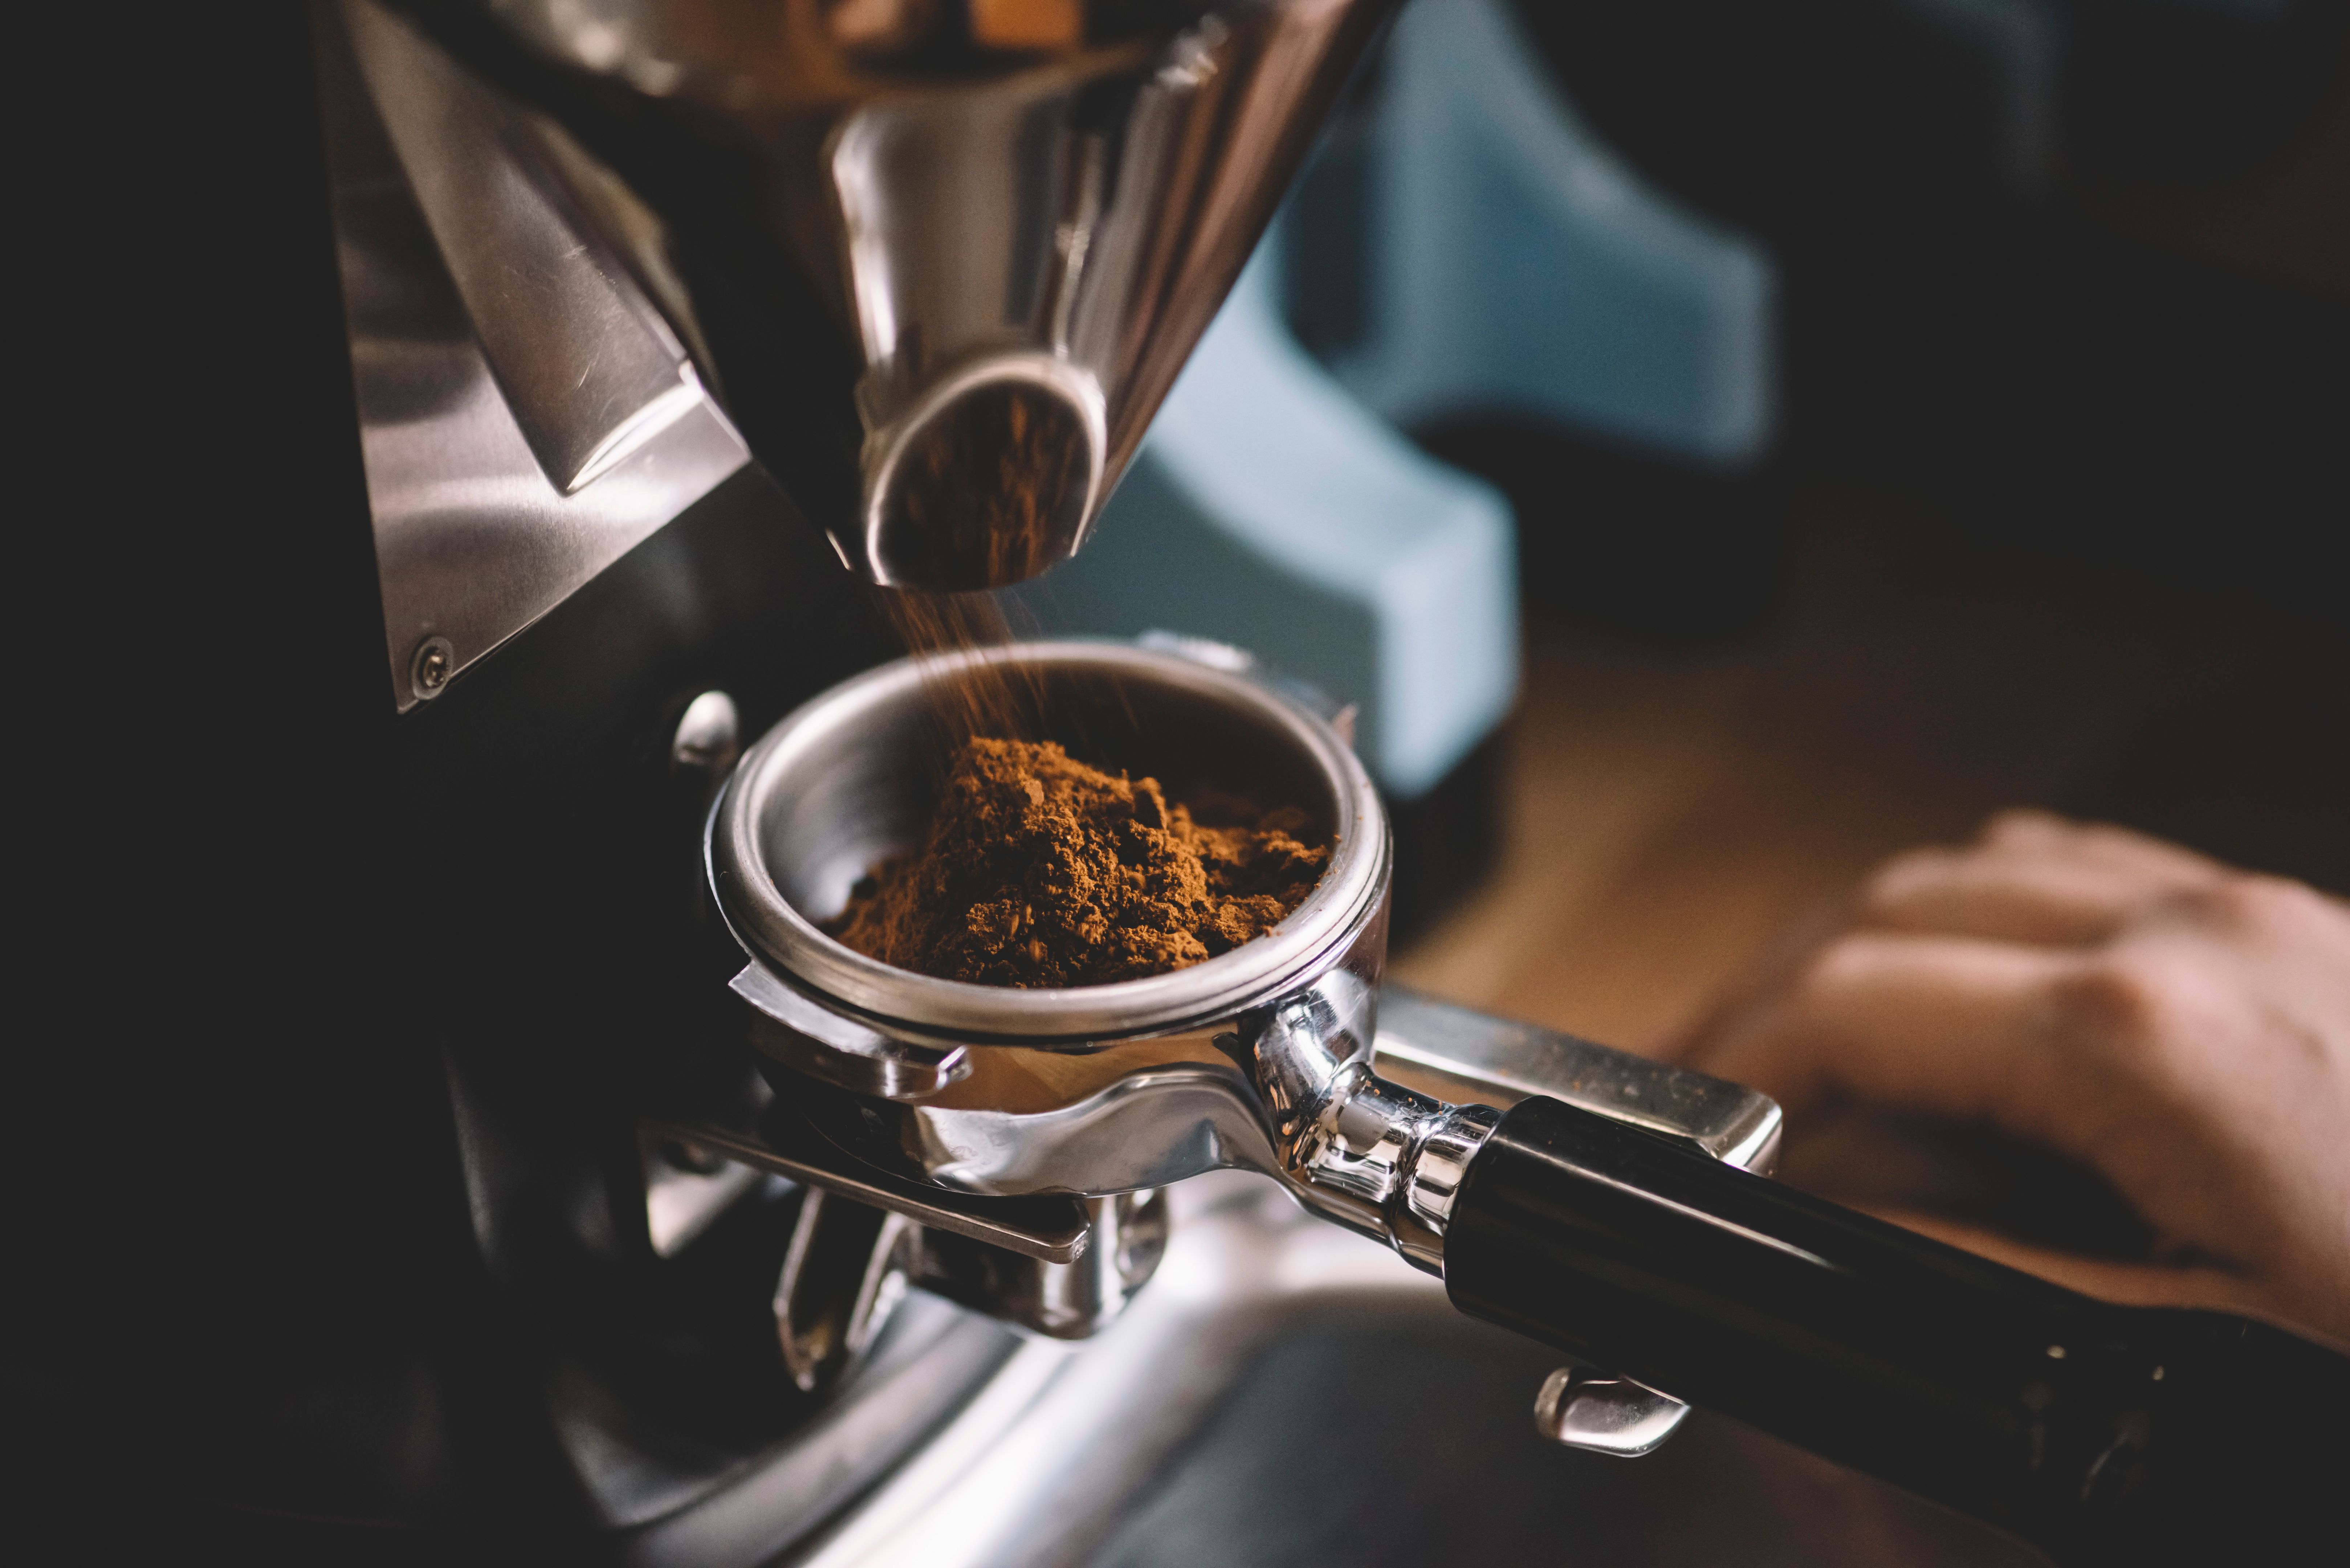
The type of equipment you choose will affect the roasting process and results. Popcorn poppers are an affordable option for beginners, while stovetop or oven roasting offers more control. Dedicated coffee roasters provide precision and consistency but can be a more significant investment.
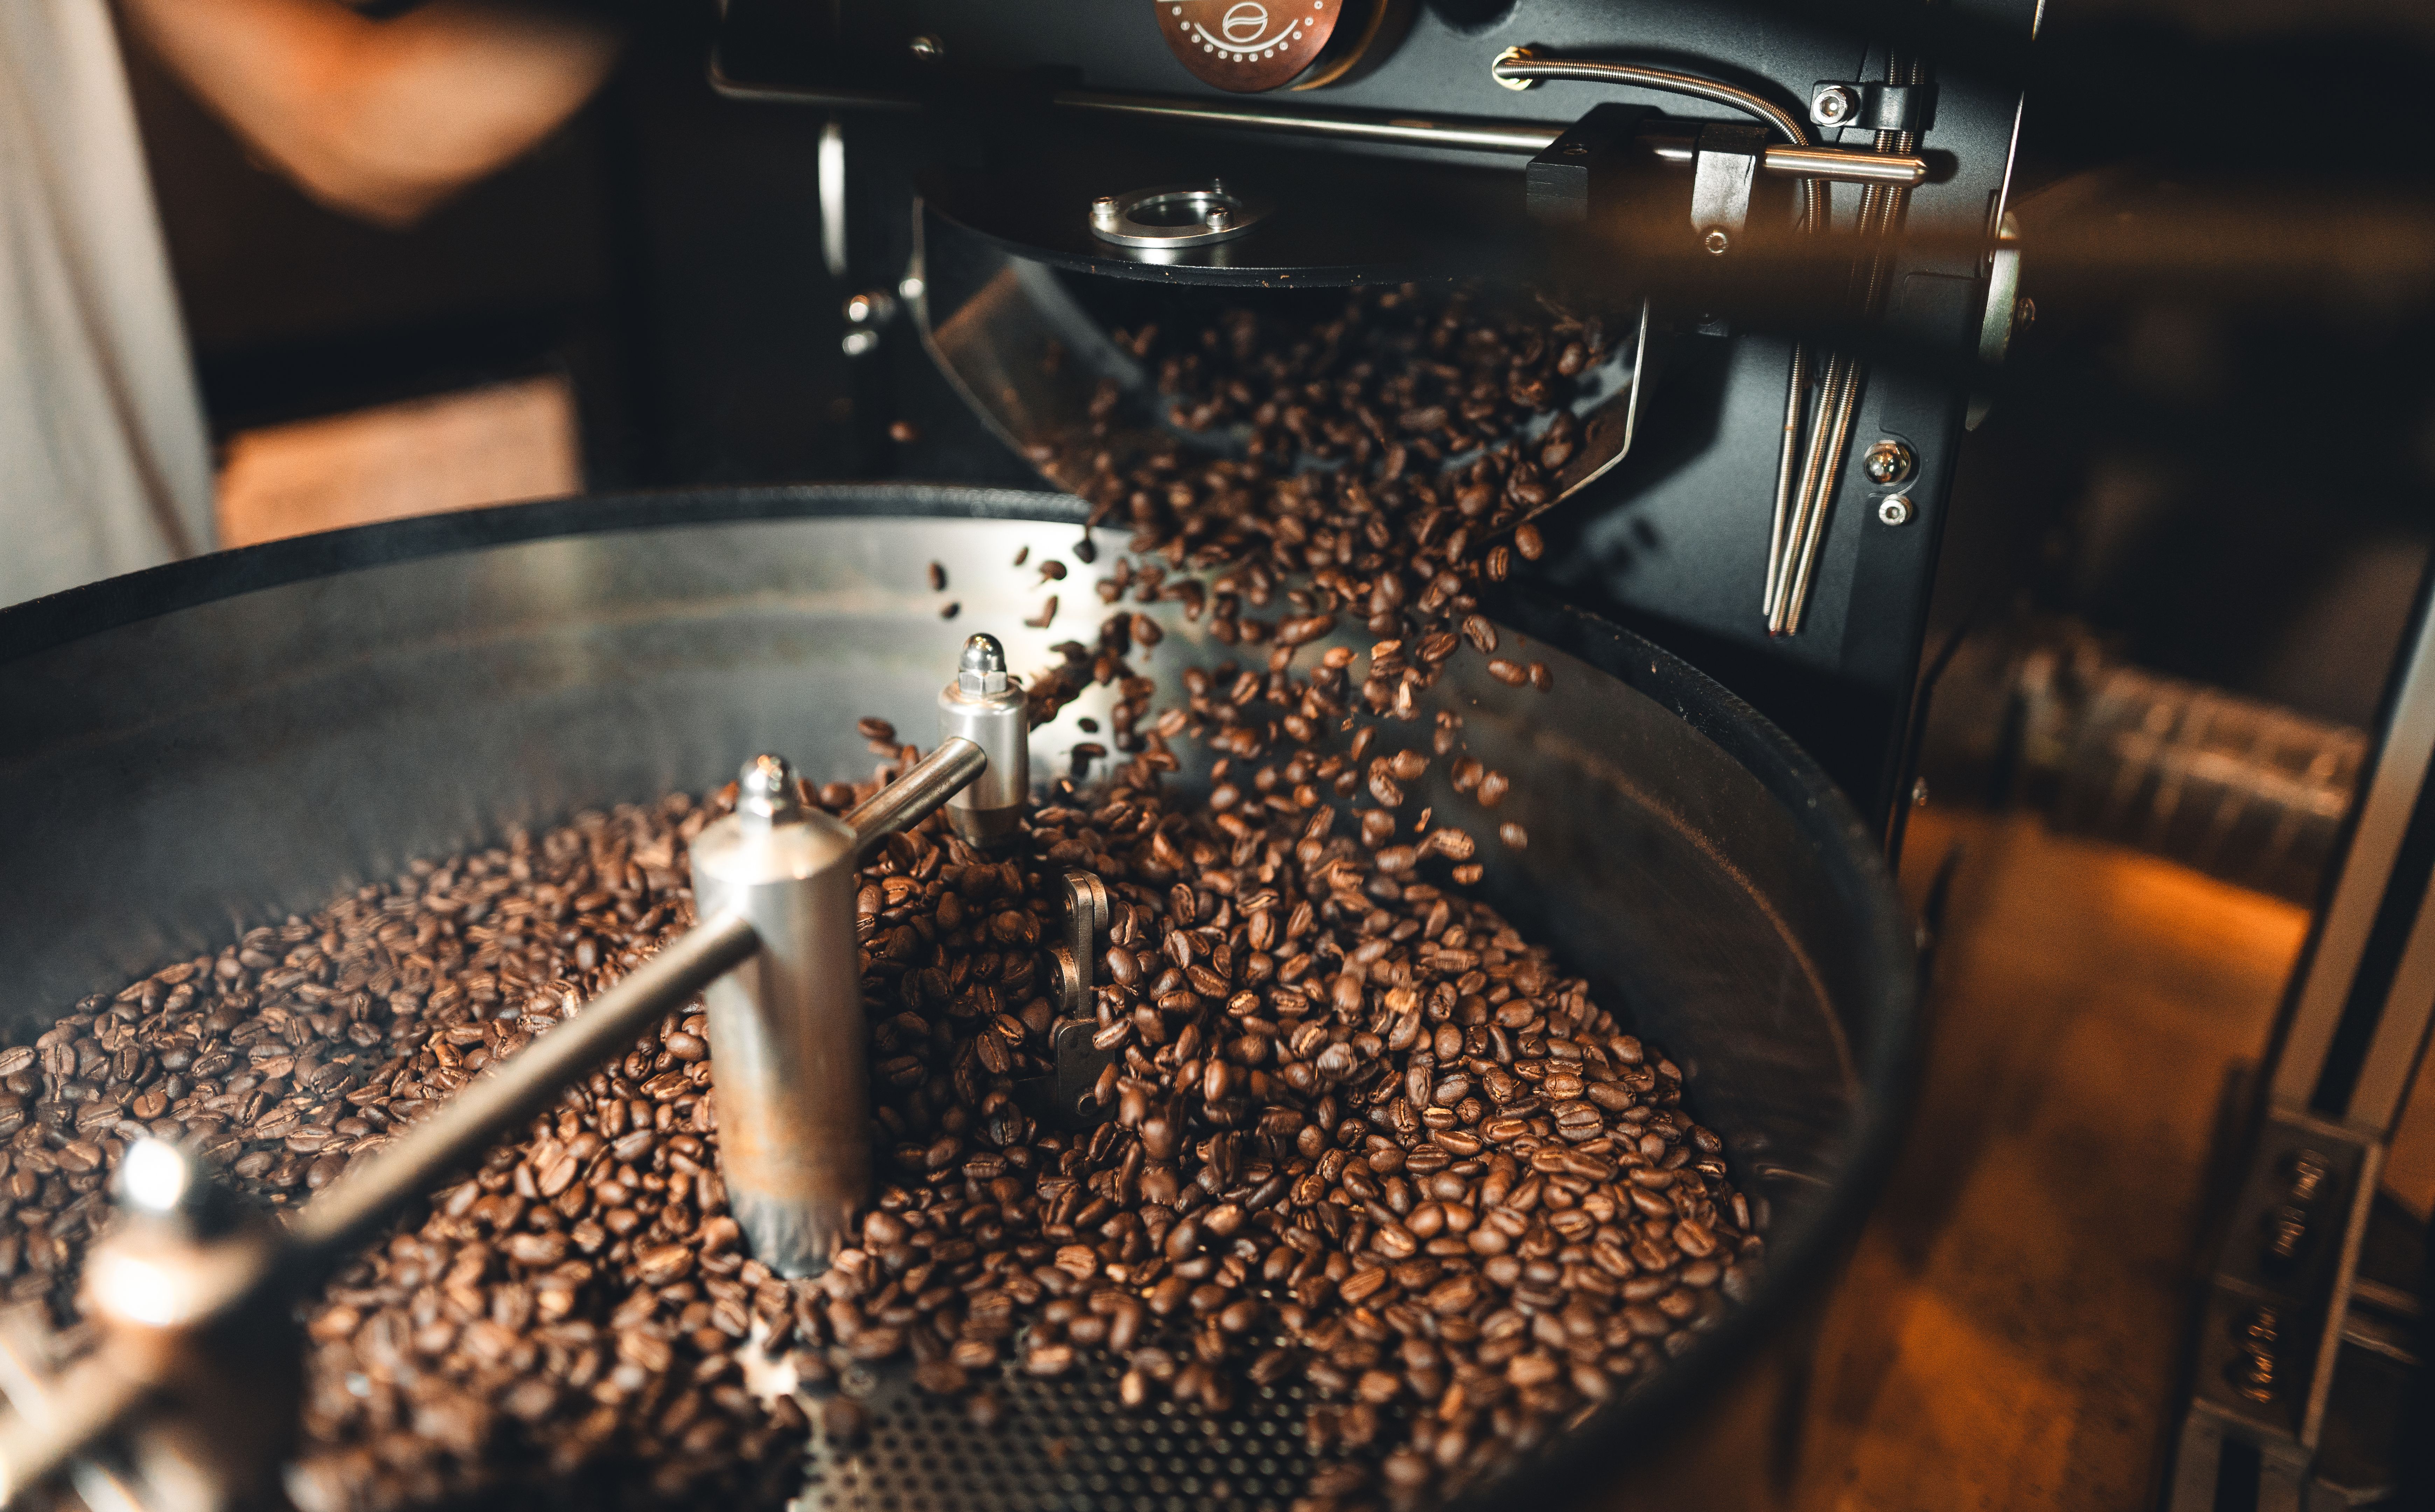
The Roasting Process
Once you have your equipment ready, it's time to start roasting. Follow these steps for a successful roast:
- Preheat your roasting device to the desired temperature. For popcorn poppers, this is typically around 400°F (204°C).
- Add a small batch of green coffee beans, about half a cup, to the roaster.
- Stir the beans constantly to ensure even roasting.
Monitoring the Roast
As the beans roast, they will go through several stages, changing color from green to yellow and then to brown. Listen for the “first crack,” a popping sound that indicates the beans are reaching a light roast. Continue roasting for a darker profile, but be cautious not to burn them.
Cooling and Storing Your Beans
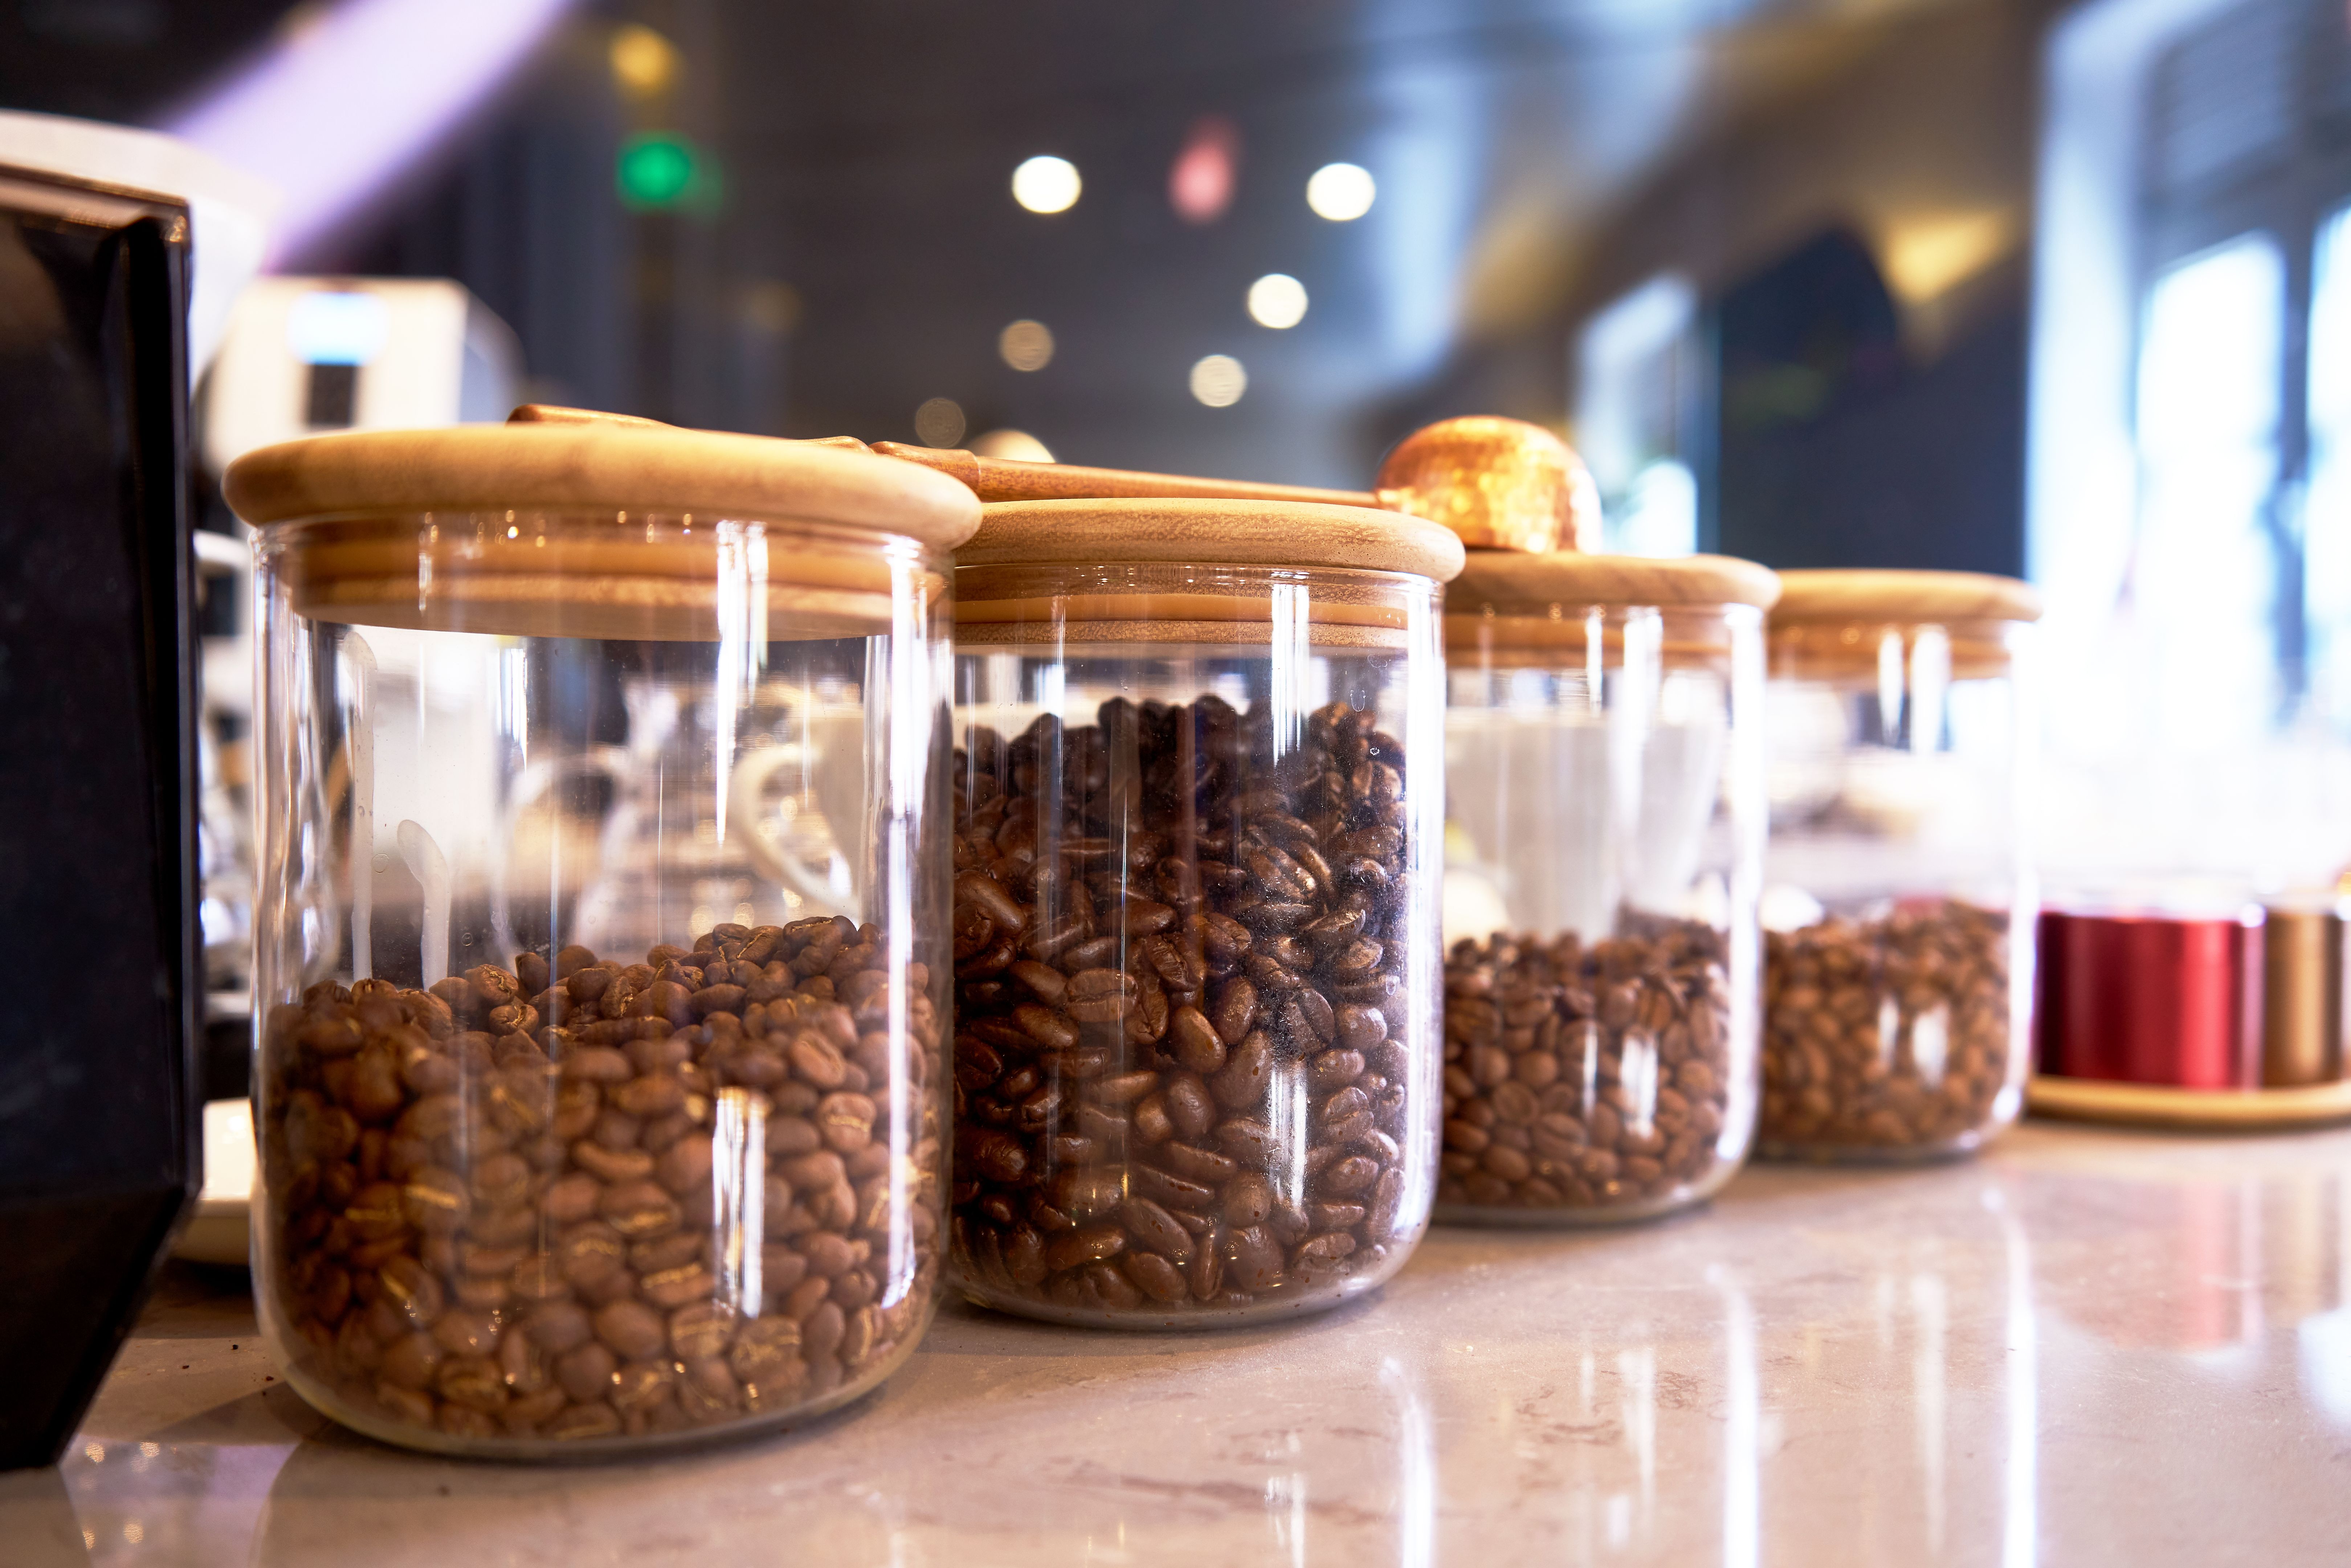
Once the desired roast level is achieved, quickly transfer the beans to a colander and shake them to cool. This step is crucial to stop the roasting process and preserve flavor. Store the cooled beans in an airtight container away from direct sunlight.
Letting the Beans Rest
Allow your roasted beans to rest for 12 to 24 hours before brewing. This resting period lets the CO2 escape and enhances the flavor. Experiment with different rest times to find your perfect taste.
Experimenting with Roasts
One of the joys of home roasting is the ability to experiment with different roast levels and bean origins. Try varying the roasting time or temperature to discover new flavors. Keep a journal of your roasting adventures to track what works best for you.
Remember, practice makes perfect. Take notes, adjust your methods, and enjoy the journey toward crafting the perfect cup of coffee.